User Group Management
Displays the list of user groups and enables their management.
This widget is only available to admin users.
Features
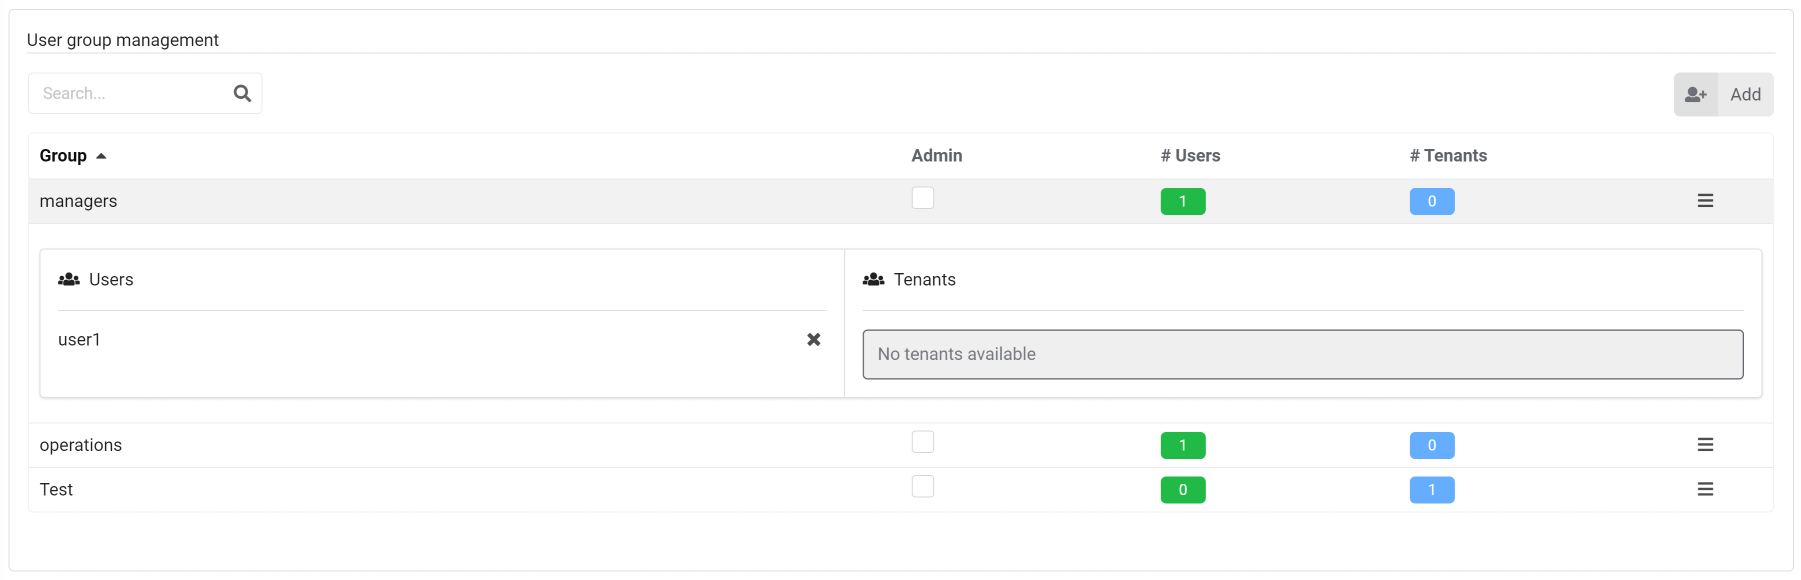
User Groups information
The widget displays the following information regarding each of the user groups:
- Name
- LDAP group When working with an LDAP-based external authentication system, this field identifies the LDAP user group which is connected to the current Cloudify user-group.
This column will not be visible if LDAP is disabled in Cloudify. - Admin If checked, all users who are members of this groups will have the role of sys-admins on the manager.
- # Users number of users who are members of the group
- # Tenants number of tenants the user-group is assigned with.
User Groups actions
The hamburger menu on the right of every tenant allows performing the following operations:
- Adding/removing users to/from the group available only if managing the users in Cloudify itself
- Adding/removing user groups to/from the tenant
- Deleting the user groups - possible only if there are no users who are members in the groups, and the group is not assigned with any tenants. Also, using the “Add” button on the right top corner of the widget, you will be able to create new user groups.
Adding a User Group
Users groups are not mandatory when you manage users in Cloudify, however creating groups might enable you to manage your users more efficiently. You can create groups of users and assign them to one or more tenants, specifying a tenant-role that will apply to all the users in the group. Please notice that by belonging to several groups, users might be assigned to a tenant with more than one role. As each role represents a set of permissions, if even one of those roles allows the users to perform an action in the tenant, they will indeed be able to perform it.
- Click Add in the User Groups Management widget.
- Enter a name for the group.
The name must contain at least five alphanumeric characters and begin with a letter. It can also include the following characters:-,_or.. - (Optional) If you want to add user group that is configured in your LDAP/AD system, enter the LDAP Group Distinguished Name (DN). The format must be
CN=GroupName,OU=OUName,DC=Domaincomponent,DC=DomainComponent, for exampleCN=ldapwiki,OU=groups,DC=example,DC=com.
This field will not be visible if LDAP is disabled in Cloudify. - Check Admin checkbox if you want group members to have administrator privileges.
- Select tenant(s) from Tenants list and assign a tenant-specific role(s) for the user group.
- Click Add.
Like Users, User-Groups need to be assigned with tenants in order to access Cloudify resources. The assignment of a group to a tenant is done in the exact same manner as single users, and likewise require specifying a role in the tenant.
Adding User Groups to a Tenant
- Click the List icon
 on the far right of the user group entry in the table that you want to add to a tenant.
 - Click Edit group’s tenants.
- Select one or more tenants from the dropdown list. Now, choose the desired role for each of those tenants, and click Save.
- The user group is added to the specified tenants.
All users within the group, unless they have a deactivated status, can perform actions on the tenant according to their specified role and the privileges assigned with it.
Deleting User Groups
- Click the List icon on the far right of the entry and select the entity to delete.
- Click Delete.
Settings
Refresh time interval- The time interval in which the widget’s data will be refreshed, in seconds. Default: 30 seconds.