AWS EKS Discovery
This example demonstrates discovering existing EKS clusters in your AWS account.
The story comprises three features:
- A Discovery blueprint
- The Shared Cluster node type.
Prerequisites
This example expects the following prerequisites:
- A Cloudify Manager setup ready. This can be either a Cloudify Hosted service trial account, a Cloudify Premium Manager, or a Cloudify Community Manager.
- Access to the cloud infrastructure you select is required to demonstrate this example.
Cloudify CLI or Cloudify Management Console?
Cloudify allows for multiple user interfaces. Some users find the Cloudify Management Console (web based UI) more intuitive while others prefer the Cloudify CLI (Command Line Interface). This tutorial and all following ones will describe both methods.
Community version - Some of the options described in the guide are not available in the community version management console (web UI). An example would be setting up secrets. You can still perform all of the functionality using the Cloudify CLI.
Cloudify Management Console
This section explains how to run the above described steps using the Cloudify Management Console. The Cloudify Management Console and Cloudify CLI can be used interchangeably for all Cloudify activities.
Create Secrets
To connect to an infrastructure, a set of credentials are required. Cloudify recommends storing such sensitive information in a Cloudify secret. Secrets are kept encrypted in a secure way and used in run-time by the system. Learn more about Cloudify secrets here.
In this example, an infrastructure provider is selected during blueprint install. To ensure the correct secrets are created, use the following table to import the secrets for the provider selected.
| Infrastructure Provider | Example |
|---|---|
| AWS | Infrastructure provisioning basics |
To store the access keys as secrets in the Cloudify Manager, login to the Cloudify Management Console and select the System Resources page. Scroll to the Secret Store Management widget and use the Create button to add the following new secrets:
Upload Plugins
Plugins are Cloudify’s extendable interfaces to services, cloud providers and automation tools. I.e., connecting to AWS requires the AWS plugin.
To upload the required plugins to your manager, select the Cloudify Catalog page, scroll to the Plugins Catalog widget and select the plugins you wish to upload.
For this example, upload the following plugins:
- Utilities
- Kubernetes
- AWS
Upload Blueprints
A blueprint is a general purpose model for describing systems, services or any orchestrated object topology. Blueprints are represented as descriptive code (yaml based files) and typically stored and managed as part of the source repository. The Discovery blueprints are available here.
If you have installed an example before, the Discovery flow is slightly different.
The general flow required to setup a service consists of:
- Upload the blueprint describing a service to the Cloudify Manager.
- Create a deployment from the uploaded blueprint. This generates a model of the service topology in the Cloudify database and provides the “context” needed for running workflows.
- Run the install workflow for the created deployment to apply the model to the infrastructure.
For the Discovery and Batch Workload Management feature, the flow is:
- Upload the blueprint describing an existing EKS Cluster to the Cloudify Manager.
- Upload the blueprint that enables us to scan your AWS Account for existing EKS clusters to the Cloudify Manager.
- Upload the blueprint that runs a Kubernetes workload on a Kubernetes Cluster managed in another Deployment Cloudify Manager.
- Create a deployment from the uploaded AWS Account blueprint. This generates a model of the service topology in the Cloudify database and provides the “context” needed for running workflows.
- Run the install workflow for the created deployment to apply the model to the infrastructure.
- Run the discover_and_deploy workflow from the “account” deployment to discover Kubernetes Clusters and install existing cluster deployments for them on the Cloudify manager.
- Run the batch_deploy_and_install workflow from the “account” deployment to install a Kubernetes workload on the discovered clusters.
Let’s run these one by one.
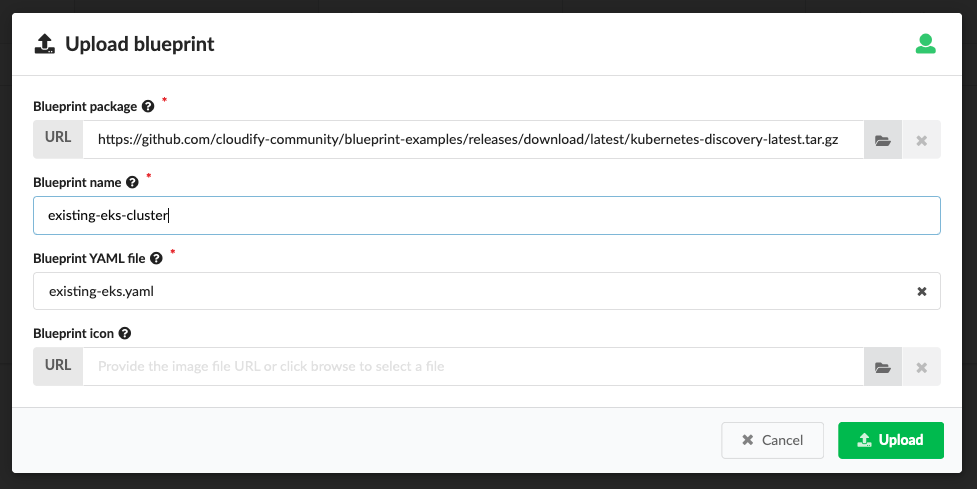
Upload Existing Cluster Blueprint
To upload the Existing Cluster blueprint to the Cloudify Manager, select the Local Blueprints page, and use the Upload button.
- Blueprint package: link
- Blueprint name:
- AWS users should use existing-eks-cluster
- Azure users should use existing-aks-cluster
- GCP users should use existing-gke-cluster
- Blueprint YAML file:
- AWS users should use existing-eks.yaml
- Azure users should use existing-aks.yaml
- GCP users should use existing-gke.yaml
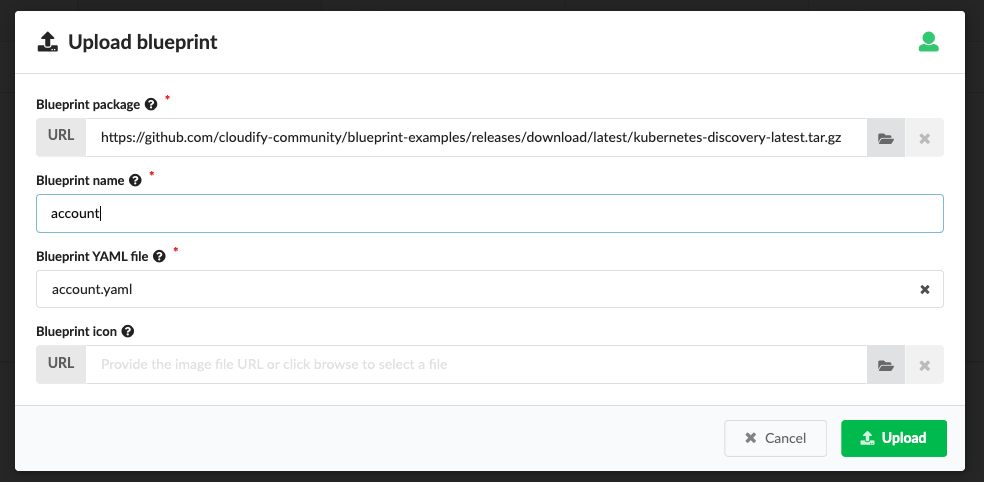
Upload Account Blueprint
To upload the Account blueprint to the Cloudify Manager, select the Local Blueprints page, and use the Upload button.
- Blueprint package: link
- Blueprint name:
- AWS users should use: aws-account.
- Azure users should use: azure-account.
- GCP users should use: gcp-account.
- Blueprint YAML file:
- AWS users should use aws-account.yaml
- Azure users should use azure-account.yaml
- GCP users should use gcp-account.yaml
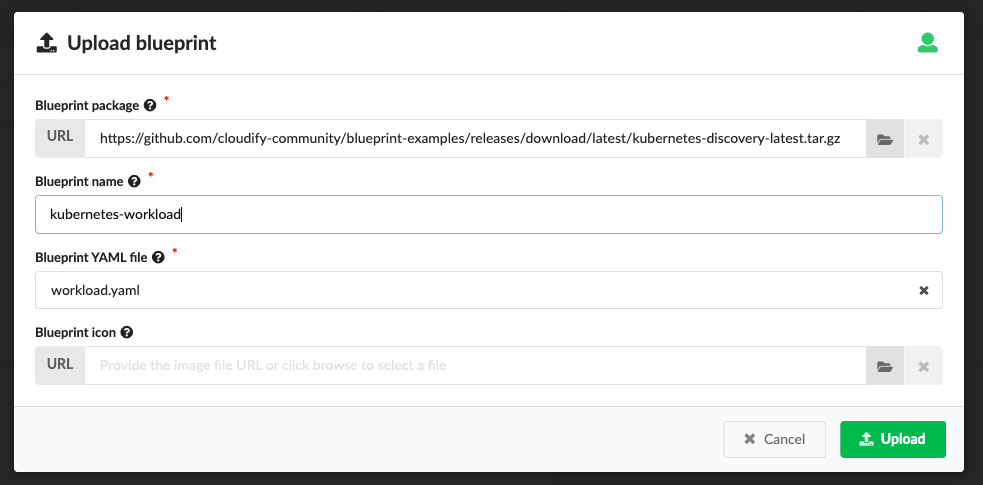
Upload Kubernetes Workload Blueprint
To upload the Kubernetes Workload blueprint to the Cloudify Manager, select the Local Blueprints page, and use the Upload button.
- Blueprint package: link
- Blueprint name: kubernetes-workload
- Blueprint YAML file: kubernetes-workload.yaml
Deploy & Install
Once the blueprints are uploaded, they will be displayed in the Blueprints widget.
Create a new deployment from the “account” blueprint.
To deploy the blueprint click the Create deployment button next to the “account” blueprint. Specify a deployment name, update any inputs, and click Deploy & Install. Changing inputs is completely optional and the defaults are safe to use.

You will be directed to the Deployment page and will be able to track the progress of the execution.
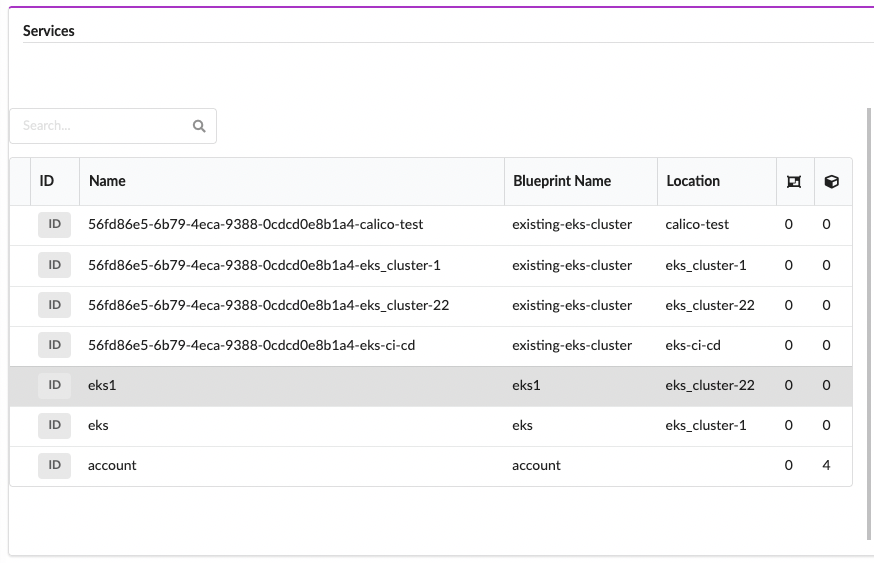
The deployment you have created should be displayed in the deployments list in the Deployments page.
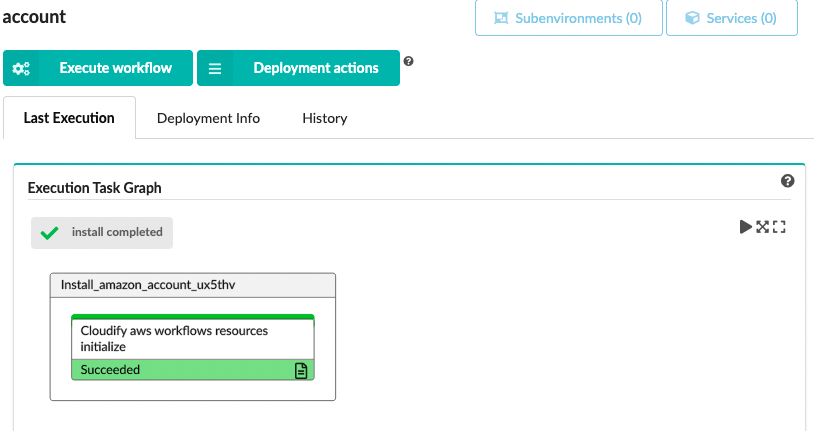
Discovery and Deploy
Once the “Account” deployment has installed, you need to execute the “discovery and deploy” workflow.
Select the Execute workflow button.
This will open a drop down menu. Click on “AWS”, and then click on “discover and deploy”.
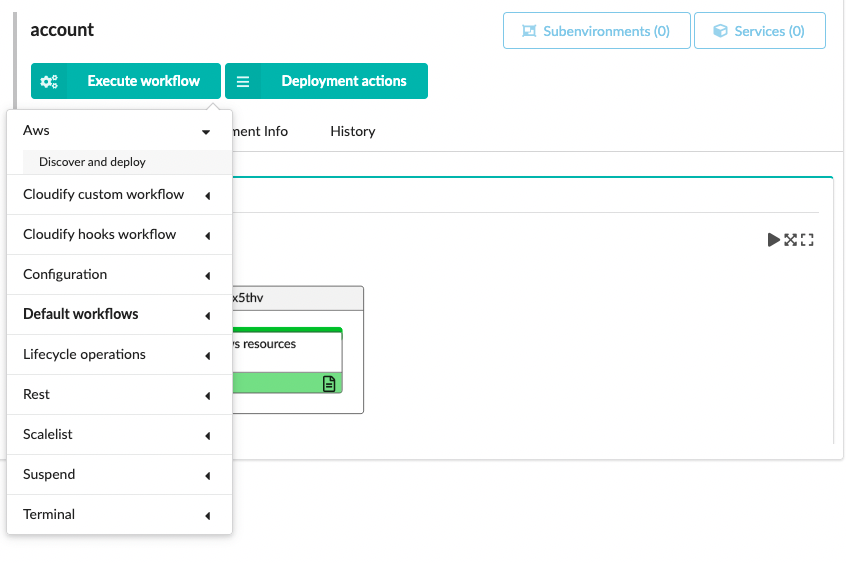
Click Execute.
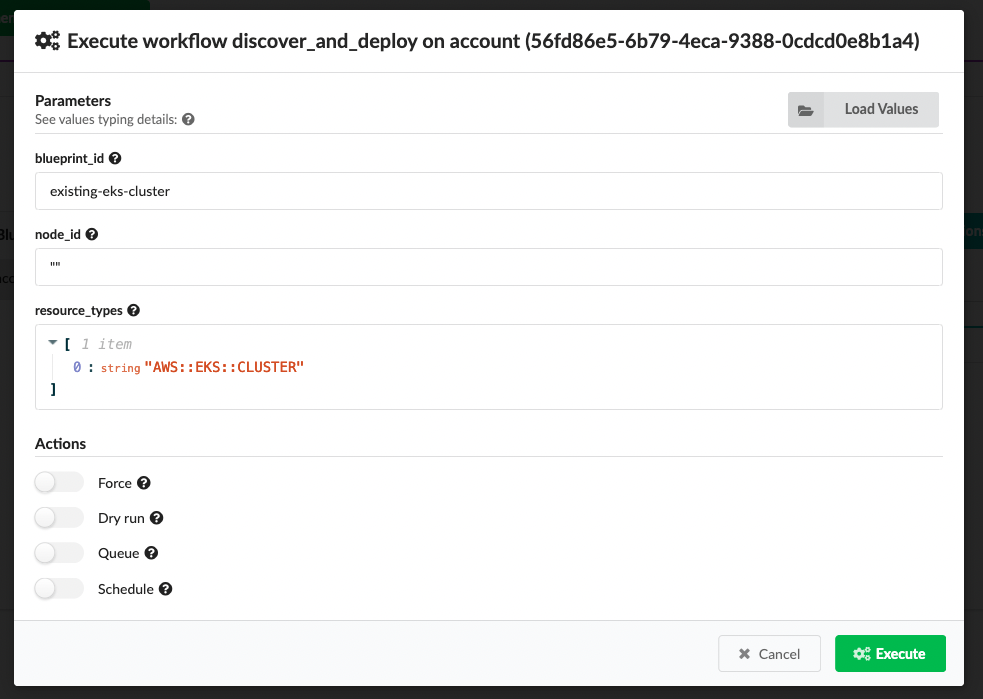
After the workflow has completed, you should see all of the Kubernetes clusters in your account in the services list.