Managing Inputs, Outputs and Capabilities
Cloudify Composer enables you to manage blueprint’s inputs, outputs and capabilities. These options are available through project view.
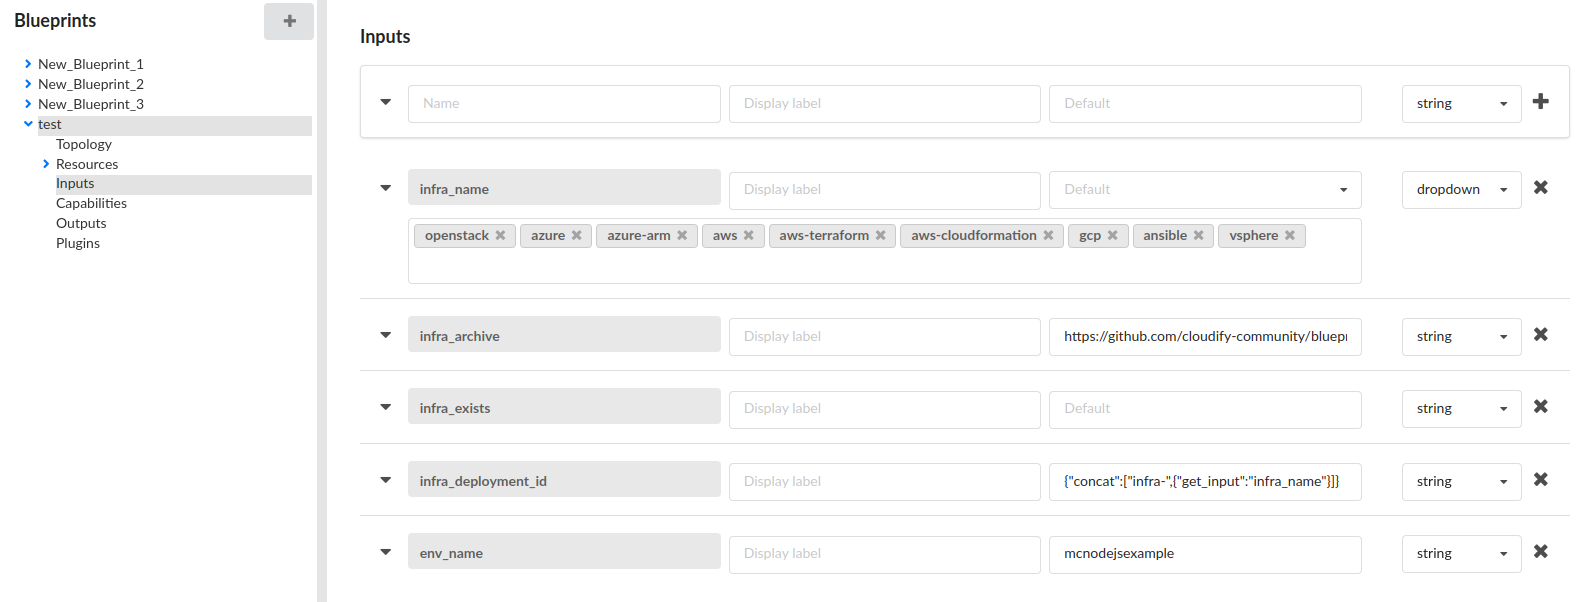
Adding an Input
- On the Inputs node, enter a name and description for your input.
- (Optional) Specify input display name and default value.
Further optional input properties are available after expanding the input section.
After clicking the dropdown icon on the left side of the section it is possible to provide input description as well as enable
hiddenandrequiredflags. - (Optional) Change the default
stringdata type of the input. - Click the Plus (+) icon to add the input to the list.
For more information about inputs, click here.
Adding an Output
You must specify an output value in order for the deployment to pass validation.
- On the Outputs node, enter a name and description for your output.
- Specify the output value in the Default field.
You can drag the base of the field to see multiple lines, or click the edit icon next to it to display its contents in a separate window. - Click the Plus (+) icon to add the output to the list.
Adding a Capability
- On the Capabilities node, enter a name for your capability.
- Specify the capability value in the Value field.
You can drag the base of the field to see multiple lines, or click the edit icon next to it to display its contents in a separate window. - (Optional) Add a capability description.
- Click the Plus (+) icon to add the capability to the list.