Cloudify as a Service
Cloudify as a Service is the fastest and easiest way to try Cloudify. You’ll get access to the Cloudify trial manager service which is hosted and managed by Cloudify. Follow the instructions below to get your trial account provisioned and gain access to our trial service.
Note: While the Cloudify service requires no deployment or hardware, if you wish to gain the most from your trial you will need access to some cloud infrastructure (e.g. AWS, Azure, GCP) to integrate with and run your test workloads.
Step 1: Request a Cloudify as a Service Trial Account
To start using Cloudify as a Service, a dedicated account must be created for you. If you already requested an account and received the details via email please continue to step 2.
Request your Cloudify trial account here.
Once you submit the account request form, your request is immediately processed by our system. Expect an email from the Cloudify team within minutes. Your email will contain an activation link as well as other registration information.
Step 2: Activate your Cloudify Trial and Log In
Click the activation link in your email to your dedicated trial management page. This page shares the account provisioning progress, the trial remaining time, and login information (which is also available in the email you received).
The activation will take place automatically once you click the link. It takes a few minutes to initialize your account and a progress bar will indicate when the account is ready. You will also receive a confirmation email when the account is ready.
Note: Once the activation has started it will complete even if you leave the page during the process.
Once initialization is complete, the page content will automatically refresh and share your account details including:
- A link to your trial manager login page
- Your initial login credentials
Follow the link. The Cloudify login page should be displayed. Use the supplied initial credentials to log in.
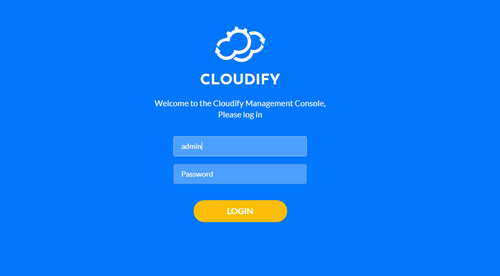
Congratulations! Your Cloudify Manager is now ready to begin orchestrating your environments.
Step 3: Install your First Deployment on your New Cloudify Manager
Check out your new Cloudify Manager by installing the Local Hello-World Example Deployment. This is a great way to become familiar with the basic concepts of the Cloudify Manager.
This example demonstrates how you can use Cloudify to easily install a local HTTP server with a hello-world page on it.
Step 4: (Optional) Setup your Command Line Interface (CLI)
Cloudify offers multiple user interfaces. All orchestration actions can be performed from the Management Console UI (after completing step 2 login instructions). However, in many cases, a CLI access from your Mac, Windows, or Linux station is easier.
Follow these instructions to deploy your CLI.
Next Steps
Now that you have access to a Cloudify Manager environment, we recommend performing some additional activities to become comfortable with Cloudify. The following suggestions will get you started!
- Try out the local Hello World example using your new manager. No cloud credentials are required for this simple example.
- Run your first multi-cloud example on AWS, Azure, GCP, and OpenStack using the native Cloudify plugins as well as Cloud Formation, Azure ARM, and Ansible plugins by following the example-based tutorials.
- Run your first Kubernetes service on OpenShift, KubeSpray, GKE, EKS, or AKS by following the Kubernetes reference guide.
- Manage your installation using the command line utility by reviewing the local CLI guide.