Activate
Overview
From Cloudify v4.6 on, in order to activate a Cloudify Premium Manager, a valid license is required.
Before the Cloudify Manager is activated, most of the Cloudify REST APIs are blocked, and neither Cloudify CLI nor Cloudify Management Console is operational.
The Cloudify community version does not require a license, hence no activation is needed.
If Cloudify is deployed as a cluster of managers, the license should only be applied once. This should be done through the active manager in that cluster.
Product Activation
A Cloudify license is provided to all Cloudify Premium subscribed customers by Cloudify support. Cloudify Premium trial customers receive their trial license via email upon trial request. Request your free 60-day trial at https://cloudify.co/cloudify-premium-download/. To activate your Cloudify Manager submit your license through either the Cloudify Management Console (UI) or via the Cloudify CLI.
Only admin users (users with sys_admin system role) are allowed to upload a license and activate the Manager.
Cloudify CLI
You can upload a license and activate the product by using the following command:
cfy license upload <license-file-path>Cloudify Management Console
When you log in for the first time, you will see the following screen:

The Go to app button will be disabled until you activate the product by uploading a valid license.
To activate the Manager:
- Paste your license into the text area.
- Click on the Update button.
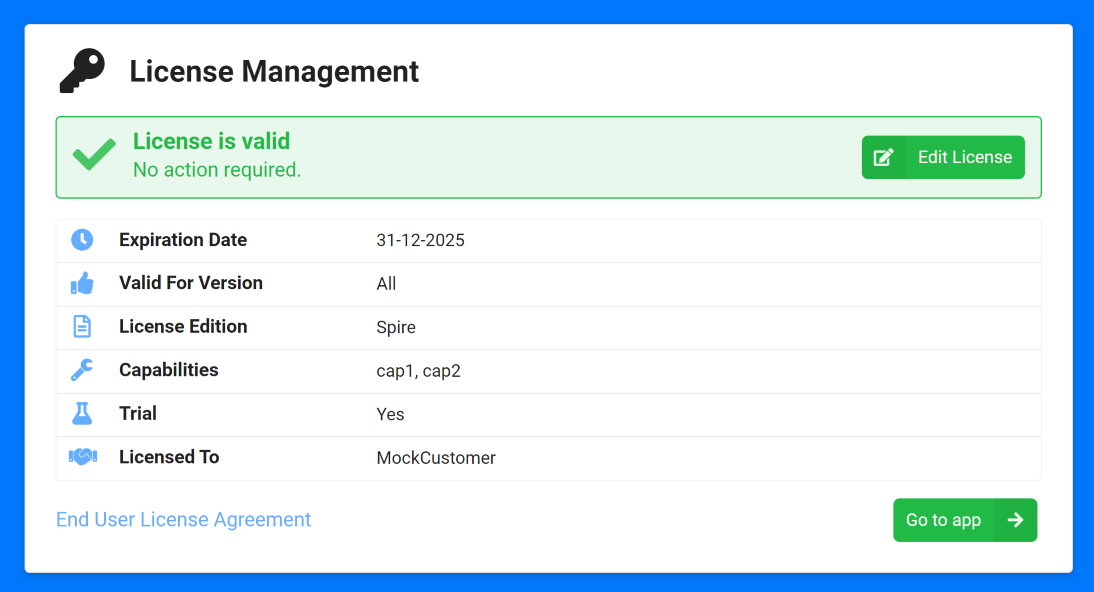
- After the license was successfully uploaded you can see all its details on the screen, and Go to app button is enabled.
- Click the Go to app button to go to the main application page.
License Management
You can always check installed license details or upload a new license.
License View
Cloudify CLI
You can check installed license details using the following command:
cfy license listThe output of the command would be similar to the following:
Cloudify License
+-------------+--------------------------+-----------------+-------+------------------+----------------+---------+
| customer_id |     expiration_date      | license_edition | trial | cloudify_version |  capabilities  | expired |
+-------------+--------------------------+-----------------+-------+------------------+----------------+---------+
| customer123 | 2019-11-24 00:00:00.000  |      Spire      | False |       4.6        |                |  False  |
+-------------+--------------------------+-----------------+-------+------------------+----------------+---------+
Cloudify Management Console
There are two possible ways to view the license details in the Cloudify Management Console:
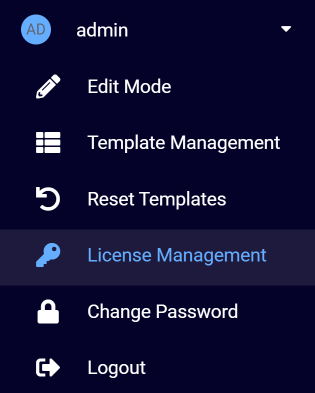
Users Menu - License Management Option
Only users with sys_admin permission have access to License Management option under the user’s menu.
-
Click the License Management option under the user’s menu:
-
The License Management dialog containing the license details will be displayed:
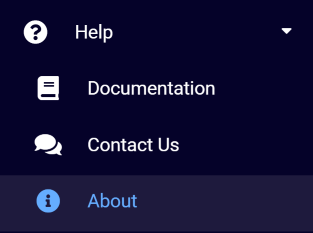
Help Menu - About Pption
-
Click the About option under the help menu:
-
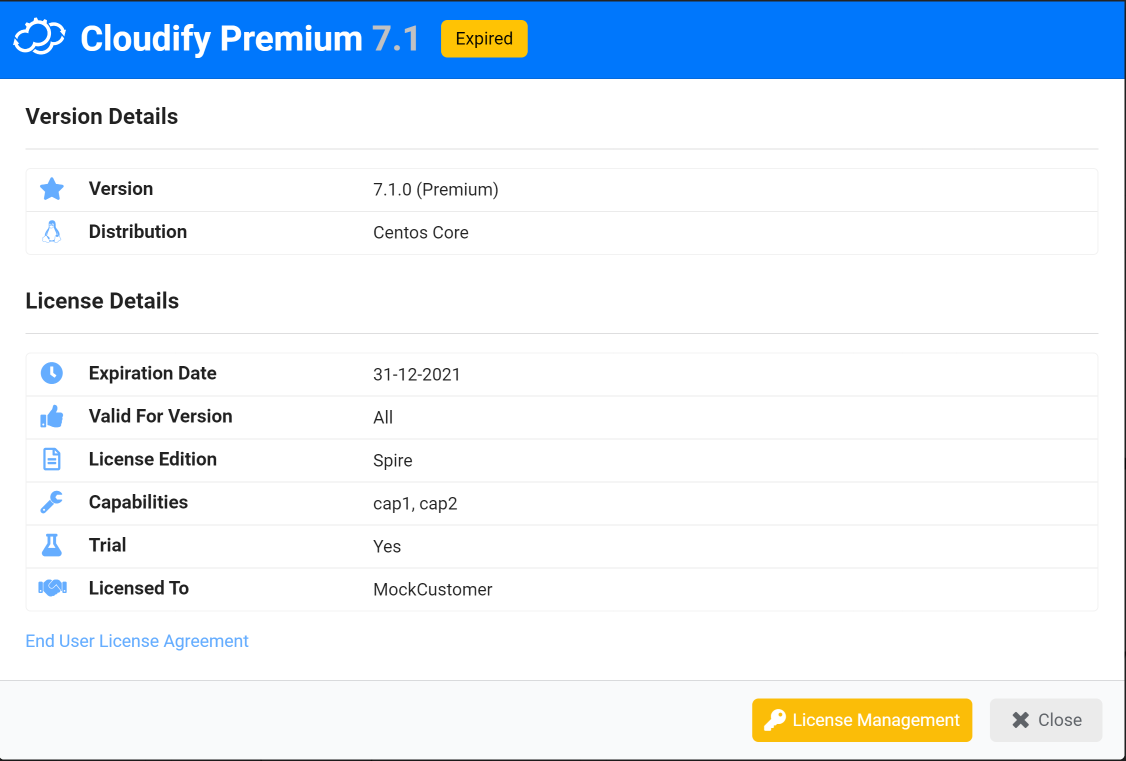
The About dialog containing the license details will be displayed:
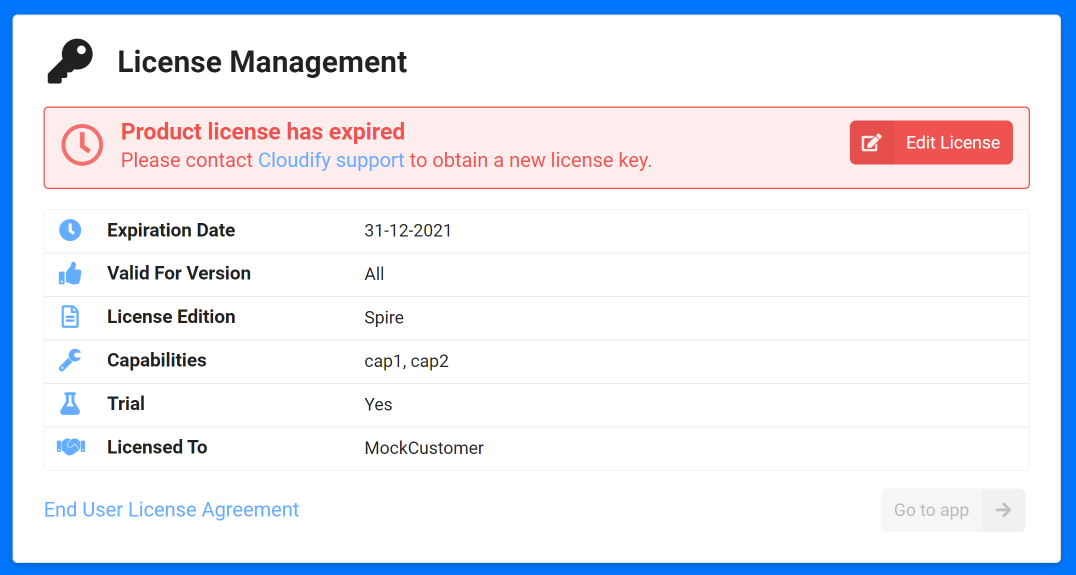
License Expiration
When the license expires, the Cloudify Manager will display a notification specifying the new state. When using a trial license, upon license expiration, all Cloudify Manager functionality will cease until it is updated with a valid license. This means that the REST API, Cloudify CLI, and Cloudify Management Console will not be functional.
-
Valid trial license example:

-
Expired license example:

License Update
When the Cloudify subscription is renewed or updated with new capabilities a new license will be provided by Cloudify support. Updating the license can be applied through the CLI or the Cloudify Management Console.
Only users with sys_admin permission are allowed to update licenses.
A single license may be active at any given time.
Cloudify CLI
You can upload a new license (instead of the current one) using the following command:
cfy license upload <license-path>Cloudify Management Console
To update the license from the Cloudify Management Console follow these steps:
-
Click the License Management option in the user’s menu:
-
Click the Edit License button:
-
Paste the license key into the text area.
-
Click the Update button.
-
The updated license details will be displayed in the License Management dialog.