Deployment wizard buttons
Allows installing a deployment of a Hello World example or chosen blueprint.
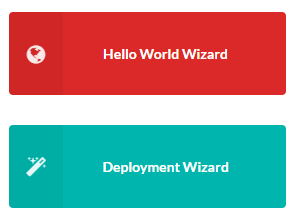
After clicking on one of the buttons user is guided step by step through the process from selecting blueprint, through providing necessary data - plugins, secrets and inputs, to running install workflow.
Details about the steps in wizard are described below.
Infrastructure step (only in Hello World Wizard)
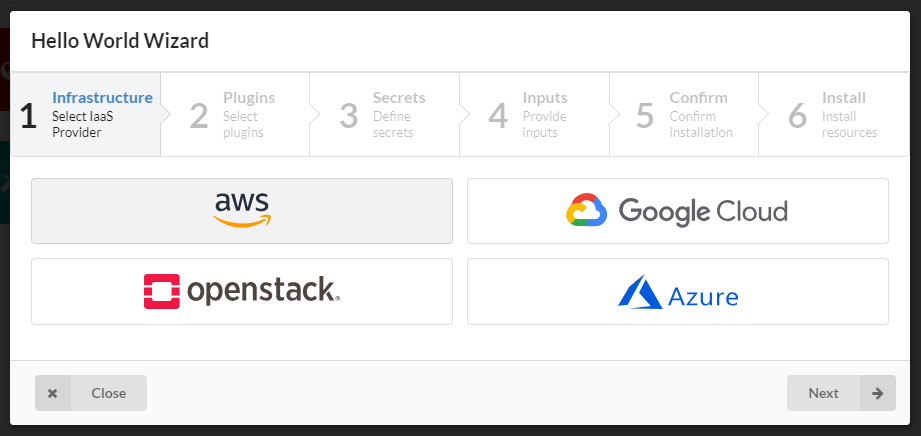
In the first step Hello World blueprint is already selected from Cloudify blueprint examples. You just need to select the type of the infrastracture you want to deploy that example on.
Click Next button to go the next step.
Blueprint step (only in Deployment Wizard)
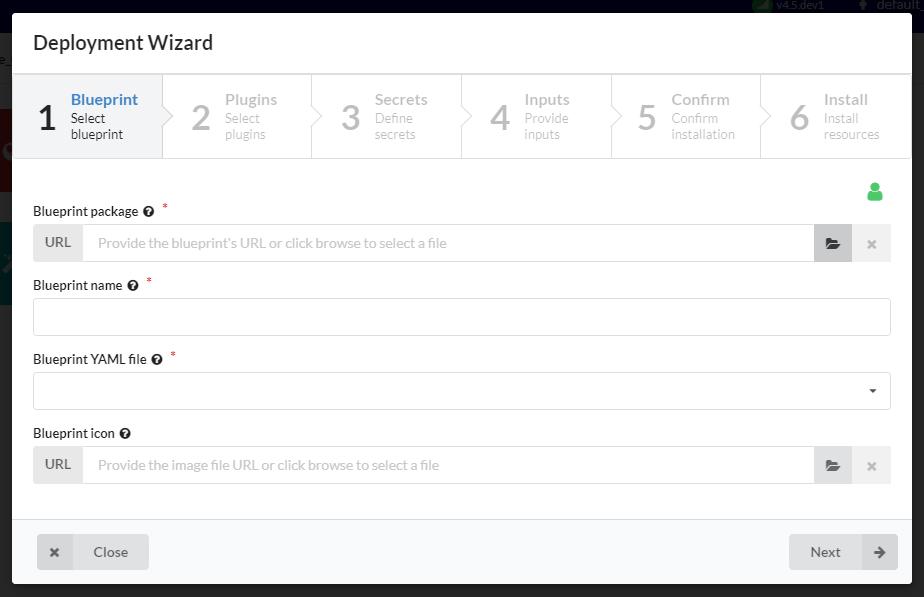
In the first step you need to provide blueprint package (either by URL or local archive file), set blueprint name and choose the YAML file from the blueprint package.
Set blueprint and deployment visibility by clicking on the icon on the top right part of the modal window.
Click Next button to go the next step.
Plugins step
In this step you see list of plugins detected in blueprint’s YAML file imports section.
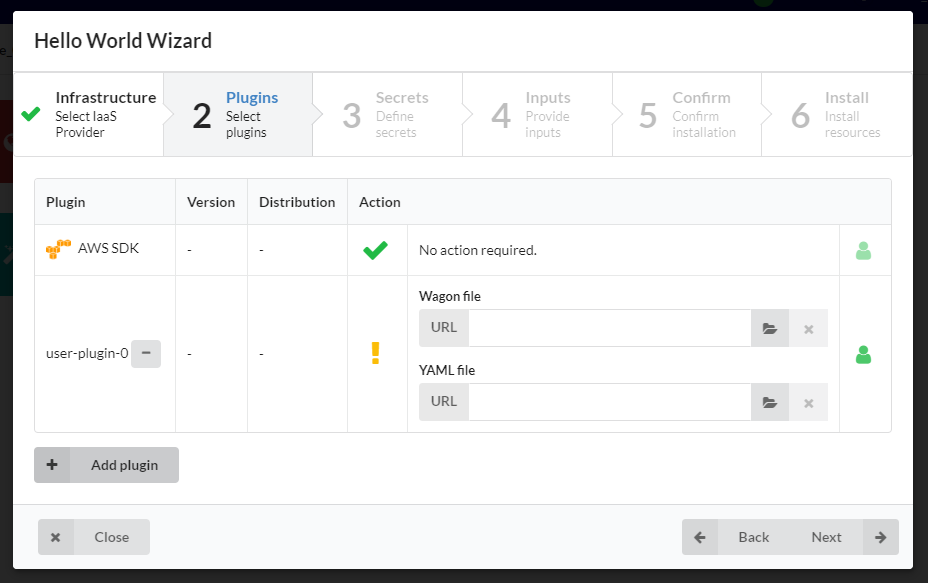
Some of them may be automatically installed, for some of them you will need to provide wagon and plugin YAML files. You can also add your plugin if it was not detected.
Hover over icon in Action column to see details and check if you need to provide any additional data. Set visibility by clicking on the icon on the right side in Action column. Click Back or Next button to navigate between steps.
Secrets step
In this step you see list of secrets detected in blueprint’s YAML file.

Some of them may already be set, for some of them you will need to provide values.
Hover over icon in Action column to see details and check if you need to provide value for the secret. Set visibility by clicking on the icon on the right side in Action column. Click Back or Next button to navigate between steps.
Inputs step
In this step you see list of blueprint inputs.
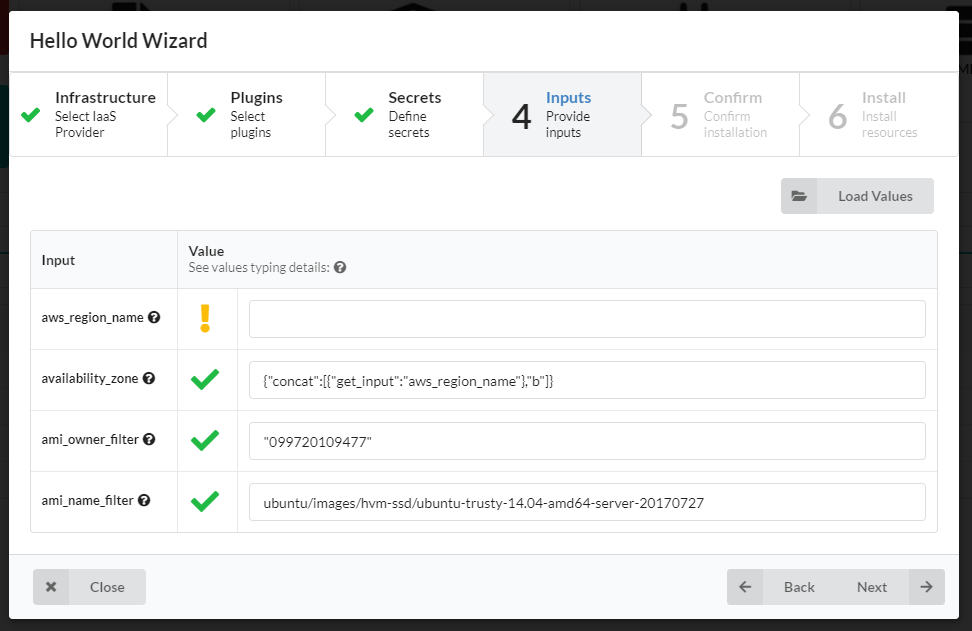
If input has default value you won’t need to provide it. You need to set values only for inputs which does not have default values. You can use Load Values button to fill in the values from YAML file.
Hover over icon in Action column to see details and check if you need to provide value for the input. Click Back or Next button to navigate between steps.
Confirm step
In this step you see list of task to be performed during installation process.
You can also modify deployment name, which is automatically set using blueprint name and index suffix.
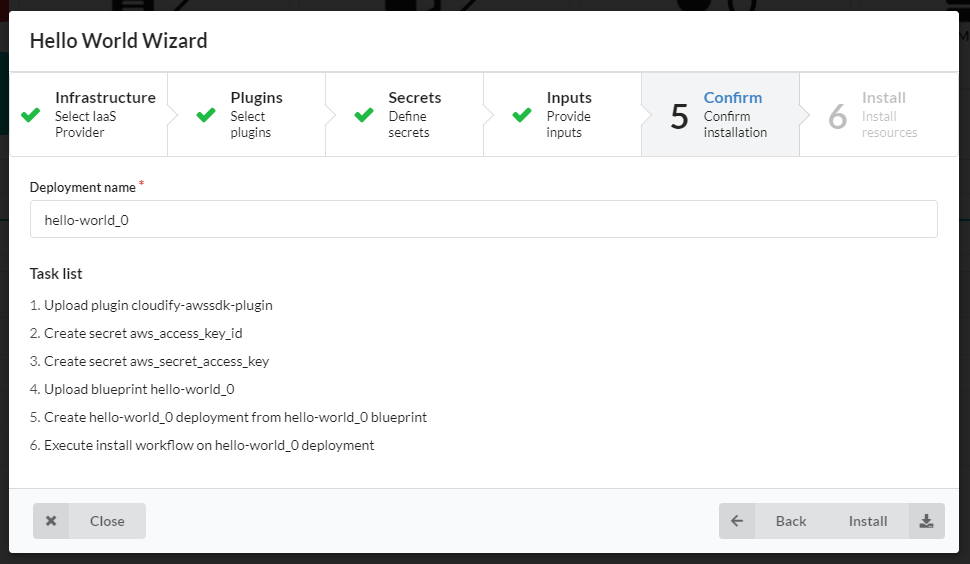
Click Install to start resources installation procedure or click Back button to go to the previous steps. Deployment name availability is verified upon clicking on Install button.
Install step
In this step you see list of ongoing tasks and its status.
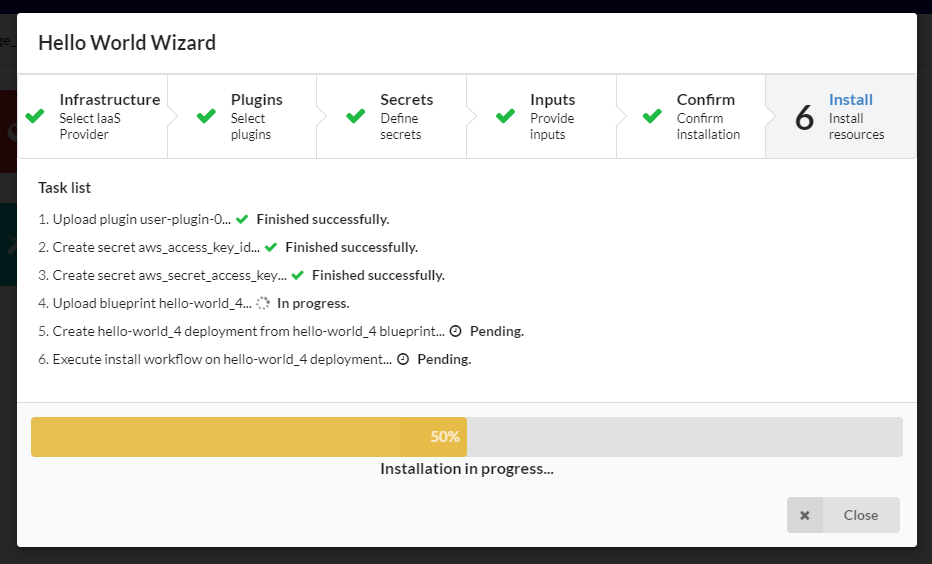
When deployment installation starts successfully you can perform additional actions - install another blueprint or go to deployment page.
When something goes wrong you will be able to see error message and you start over the procedure.
Widget Settings
Show Hello World Wizard button- if set then Hello World Wizard button will be shownHello World Wizard button label- label for Hello World Wizard buttonShow Deployment Wizard button- if set then Deployment Wizard button will be shownDeployment Wizard button label- label for Deployment Wizard button