Using the Cloudify Console
The Cloudify Console provides a streamlined experience for managing and analyzing your applications.
In addition to being able to upload blueprints, create deployments and execute workflows, the interface provides metrics visualization, log and events views, application and network topology visualization, and more. To view a video about the functionalities of the Cloudify Manager user interface click here.
The Cloudify Console requires a Cloudify Manager to run. It provides most features available in the command-line interface and more.
The view that you see depends on whether you log in as admin or user. Certain dashboard views, such as for snapshots, are only available to admin users.
This document describes all the pages and functionality that are available to admin users.
Cloudify Manager supports user management, so users must log in with user credentials. User credentials can be defined in Cloudify from an LDAP system, whether the LDAP system is integrated with Cloudify or derived from an external LDAP user management system.
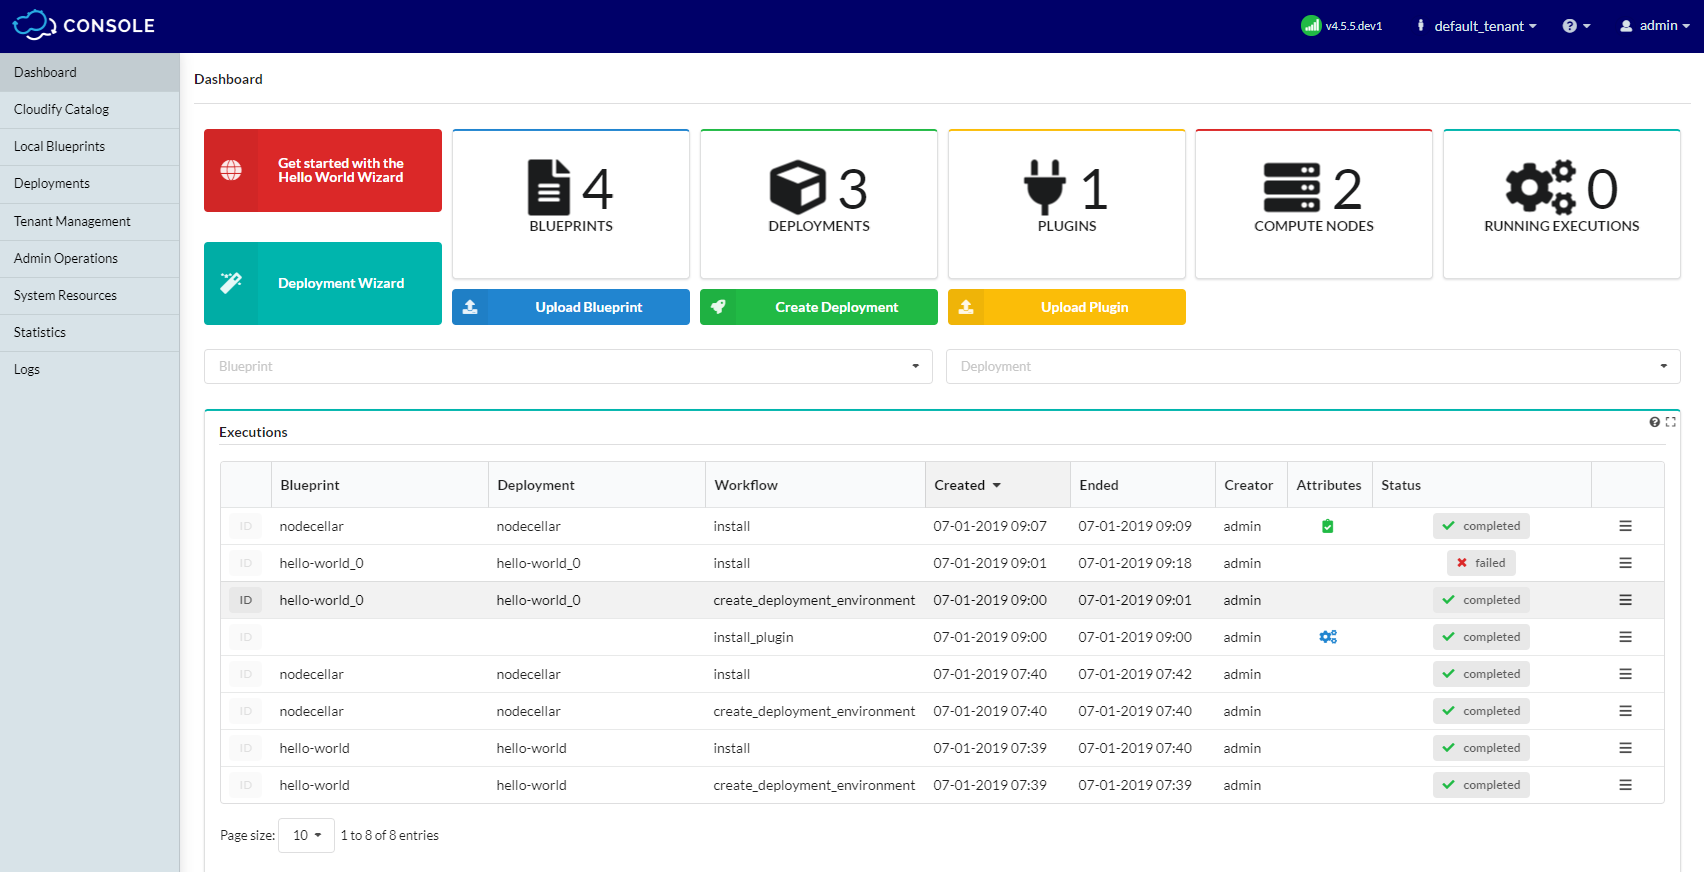
Dashboard Pages
The user interface displays a predefined set of dashboard pages, each of which contains a set of widgets. Widgets are organized on a page to optimize the display of relevant data. The dashboard pages that you see depend on whether you have an admin or user role.
Widgets
Widgets are the building blocks of the user interface framework. A catalog with out-of-the-box widgets is included with the interface that enables data to be presented in many different ways. The catalog includes widgets covering blueprints, deployments and execution views, plugins and snapshots lists, and so on. Also included is a topology widget and widgets that retrieve data from third-party applications such as GitHub. Where relevant, action buttons are provided to enable you to perform specific actions from within a widget. You can expand the widgets catalog to view in full screen mode. For more information about these widgets, see the Default Widgets Reference.
Edit Mode
Edit mode enables you to create new dashboard pages, add or remove widgets and manage how widgets are displayed on a dashboard.
If you have a user role, your ability to create dashboard pages and manage widgets depends on the configuration permissions that have been set by the administrator.
To enter Edit mode, click the dropdown arrow next to your user name and select Edit Mode. For more information about actions you can perform in edit mode, click here.
Custom Widgets
In addition to the default widgets, you can create your own and add them to the widgets catalog.
Community Version
As of Release 4.2, Cloudify Console is also available in Community version (Open Source). This edition keeps all the features of the Premium with the exception of the following:
- No users, user groups or tenants management
- No composer access
- No UI-templates management
- No High Availability cluster management
User/Tenant Management
For Cloudify Community version users, a single tenant with a single user is created during installation. When you log into Cloudify Manager, the built-in credentials are used. Features allowing for user, tenant and user group managing are disabled.
User and tenant management is available in the Cloudify Premium version. These features allows you to define multiple users, roles and tenants to build complex access hierarchies atop of those features. You can read more about users here and tenants here.
Composer Access
Composer is not available in the Community version, however you have full access to the Cloudify CLI tools to manage your blueprints. Composer, which is available in the Premium version provides quick and easy means for rapid blueprint development. You can read more about Composer here.
UI templates
The UI templates are the sets of pages presented to the users upon logging into the Cloudify Console. In Premium version, admins can define custom templates and assign them with specific tenants and specific user-roles. For example, they can define a special template for managers of a specific tenant. As the Community version does not support multiple users or multiple tenants, it also does not support the ability to define custom templates. In this version, when a user first logs in into Cloudify Console, he is presented with the Community version default layout. Pages currently available by default in Community version are as follows:
- Dashboard
- Cloudify Catalog
- Local Blueprints
- Deployments
- System Resources