Creating a Deployment
In order for Cloudify to deploy your application, it reads the uploaded blueprint YAML (the logical representation) and manifests a model called a deployment. A deployment is a “technical” drilled-down representation of your application. For example, if a blueprint describes a single server node that is defined to deploy multiple instances, the deployment will comprise the instances themselves, together with their unique identifiers.
Creating a deployment does not actually create any resources, it simply generates a “physical” representation of your application from a “logical” (blueprint) representation and stores it in the database. Technically, it is a virtual environment on Cloudify Manager.
Creating a Deployment via the CLI
To create a deployment using the Cloudify CLI execute:
cfy deployments create -b <BLUEPRINT_NAME> <DEPLOYMENT_NAME> --inputs </path/to/your/inputs.yaml>Creating a Deployment via the Cloudify Web UI
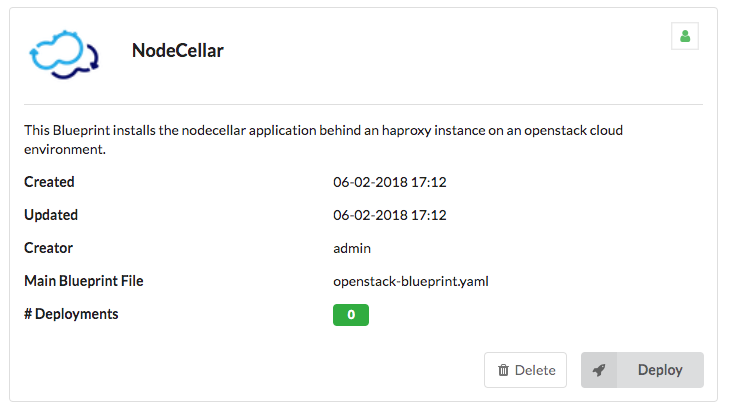
On the Blueprints widget, select the required blueprint and click Deploy.
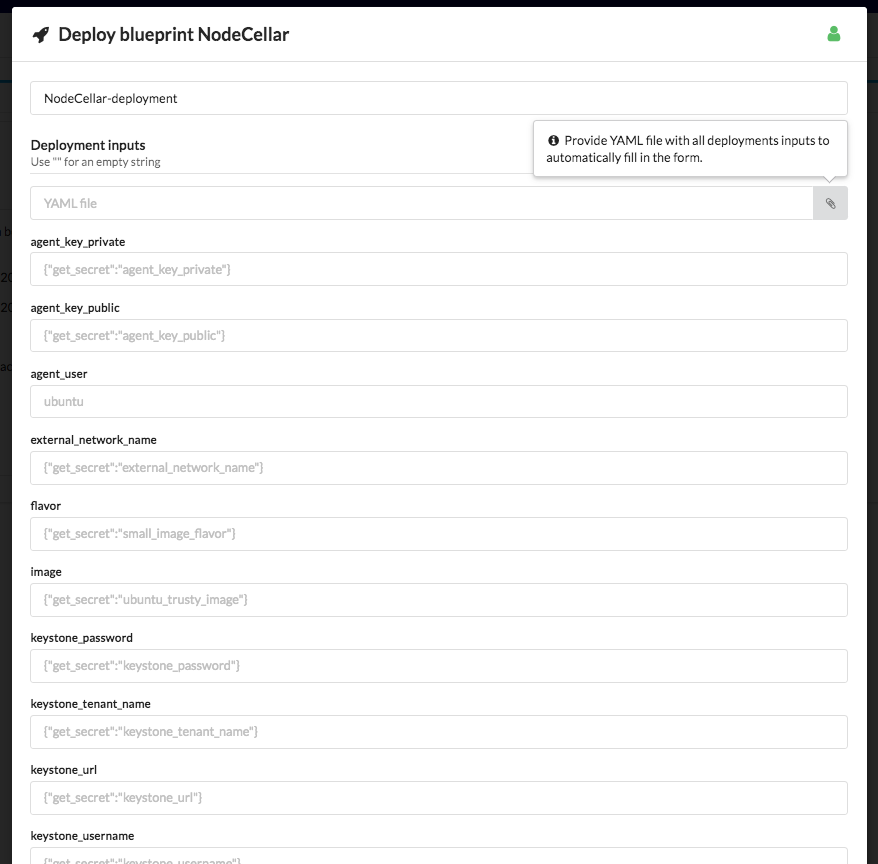
Enter the name of the deployment and either:
- Specify the input parameters
- Enter the location of a file that contains the input parameters
Click Deploy.
After creating the deployment, you can open the Deployment widget to track the initialization stage.
For information about deployment states, see the Deployments Page documentation.
After initialization is complete, you can start using the deployment and executing workflows.
Example: Creating a Deployment
This example shows how a deployment can be created for a blueprint, using the command line. For more information about creating deployments using the command line, click here.
First create an inputs file (in a similar way to the Manager blueprint’s inputs dialog):
  inputs:
    image:
      description: >
        Image to be used when launching agent VM's
    flavor:
      description: >
        Flavor of the agent VM's
    agent_user:
      description: >
        User for connecting to agent VM's
Make a copy of the inputs template already provided and edit it:
  cd cloudify-nodecellar-example/inputs/openstack.yaml.template
  cp openstack.yaml.template inputs.yaml
  image: 8c096c29-a666-4b82-99c4-c77dc70cfb40
  flavor: 102
  agent_user: ubuntu
All inputs have default values so no input file is needed.
To specify different values for one or more inputs, create an inputs.yaml file with the required inputs, for example:
echo -e "domain: 'my_domain.org'\nlocation: '168642'" > inputs.yaml
The inputs.yaml file will look like this:
  domain: 'my_domain.org'
  location: '168642'
  inputs:
    image:
      description: >
        Image to be used when launching agent VM's
    flavor:
      description: >
        Flavor of the agent VM's
    agent_user:
      description: >
        User for connecting to agent VM's
Make a copy of the inputs template already provided and edit it:
  cd cloudify-nodecellar-example/inputs
  cp aws-ec2.yaml.template inputs.yaml
    image: ''
    size: ''
    agent_user: ''
The image is again the AMI image ID. The size is the instance_type, and the agent user is the default user agent on the image type.
  inputs:
    vcloud_username:
        type: string
    vcloud_password:
        type: string
    vcloud_url:
        type: string
    vcloud_service:
        type: string
    vcloud_vcd:
        type: string
    catalog:
      type: string
    template:
      type: string
    agent_user:
      type: string
      default: ubuntu
    management_network_name:
      type: string
    floating_ip_gateway:
      type: string
    nodecellar_public_ip:
      type: string
Make a copy of the inputs template already provided and edit it:
  cd cloudify-nodecellar-example/inputs
  cp vcloud.yaml.template inputs.yaml
   vcloud_username: your_vcloud_username
   vcloud_password: your_vcloud_password
   vcloud_url: https://vchs.vmware.com
   vcloud_service: service_name
   vcloud_vdc: virtual_datacenter_name
   manager_server_name: your_manager
   manager_server_catalog: templates_catalog
   manager_server_template: template
   edge_gateway: gateway_name
   floating_ip_public_ip: ''
   management_network_name: management
   manager_private_key_path: "~/.ssh/vcloud_template.pem"
   agent_private_key_path: "~/.ssh/vcloud_template.pem"
Now that you have an inputs file, type the following command:
cfy deployments create -b nodecellar nodecellar --inputs inputs.yamlYou have created a deployment named nodecellar, based on a blueprint of the same name.
This deployment is not yet activated, because you have not yet executed an installation command.
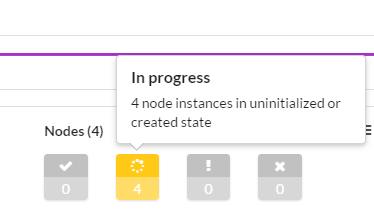
If you open the Deployments page in the Web UI, you can see that all nodes are in the yellow state, which means they are not yet initialized or are pending creation.

Next Steps
After creating a deployment, you can execute it.