Edit Mode
Cloudify Management Console pages are comprised of widgets. Widgets are dynamic data units that show up to date information. They are grouped in containers. There are two types of containers: regular widget containers, which are sets of freely arranged widgets, and tab containers, which allow grouping widgets into switchable tabs.
You can select which widgets you want to see on each page, and configure the widgets. Default pages provide views of the most commonly required data. You can delete these pages or add your own.
Edit Mode enables you to create new dashboard pages, add or remove widgets and manage how widgets are displayed on a page.
If you have a user role, your ability to create dashboard pages and manage widgets depends on the configuration permissions that have been set by the administrator.
Entering Edit Mode
Click the dropdown arrow next to your user name and select Edit Mode.
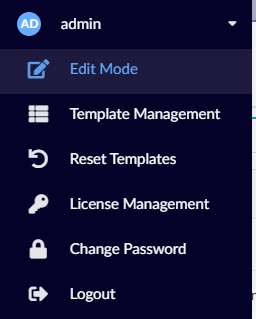
If you do not see Edit Mode in the dropdown menu, you do not have permissions to edit configuration or add pages.
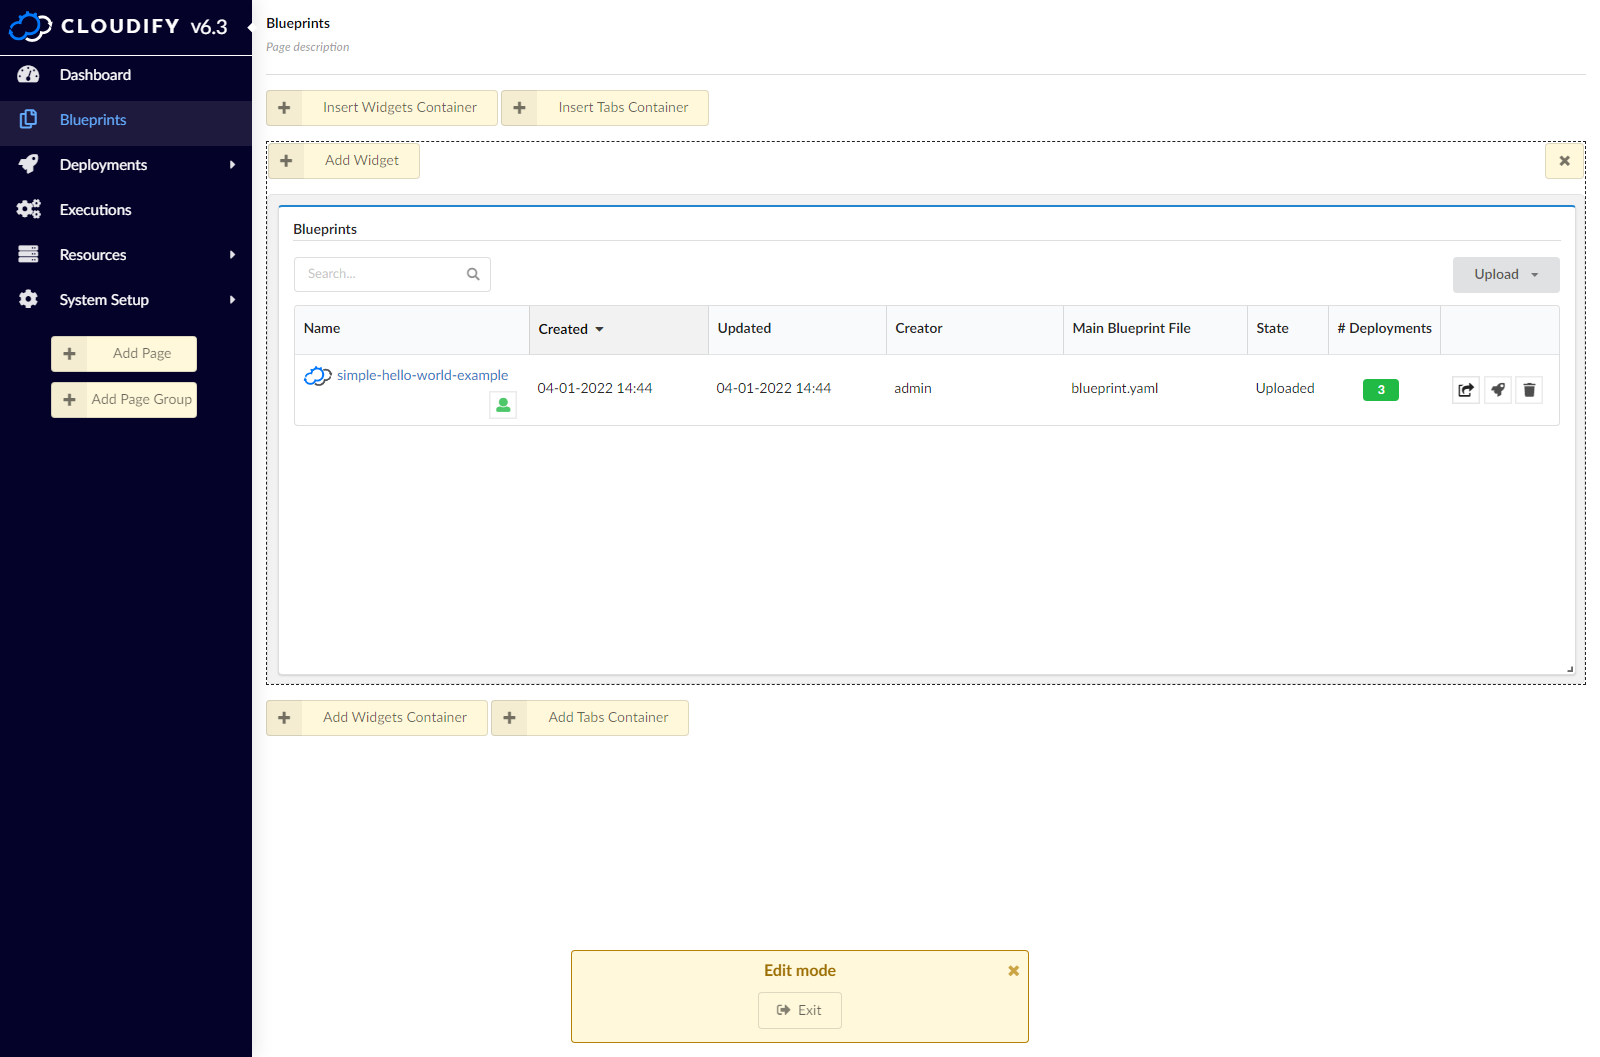
Once in edit mode, a number of edit buttons appear on the screen:
- Add/Insert Widgets Container
- Add/Insert Tabs Container
- Add Widget
- Add Page
- Add Page Group
- Exit
See Adding Widgets, Working with tabs containers, Adding Pages and Adding Page Groups for details.
In addition, you can now move widgets already on the page by clicking on their title bar and dragging them to the preferred position inside their containers.
You can also remove them from the page by clicking the X in the upper right corner of the widget (visible when hovering over the widget’s title bar), or open widget configuration window by clicking the gear icon ![]() .
.
Configuring Widgets
Some widgets have configuration option that you can define or edit.
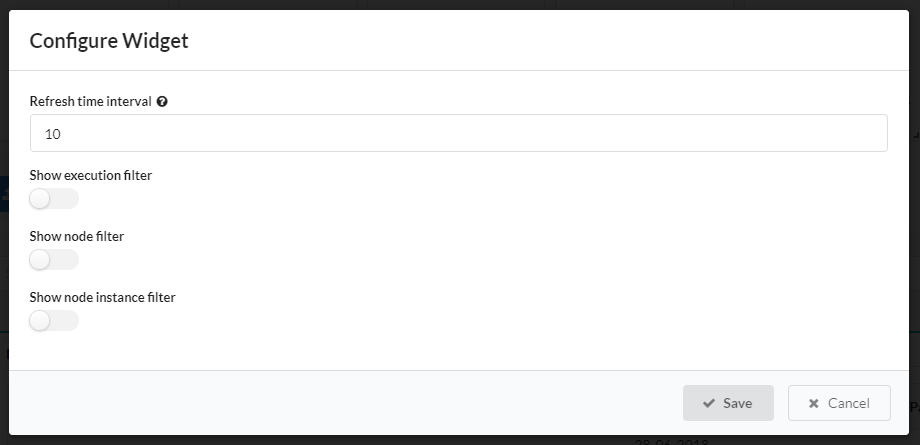
- In Edit Mode, hover over the title bar of the widget you want to configure and click the gear icon
 .
. - Make your required changes and click Save.
The available fields are widget-specific.
You can choose to display Blueprints Catalog widget contents as a table.
Adding Widgets
A catalog of widgets is available to enable you to select your preferred data display on any page.
- In Edit Mode, choose a desired container (or create a new one) and click Add Widget.
The Add Widget button is visible in all containers when you are in Edit Mode. - Select the widget that you want to add and click Add selected widgets.
You can enter free text in the search box to find a widget.
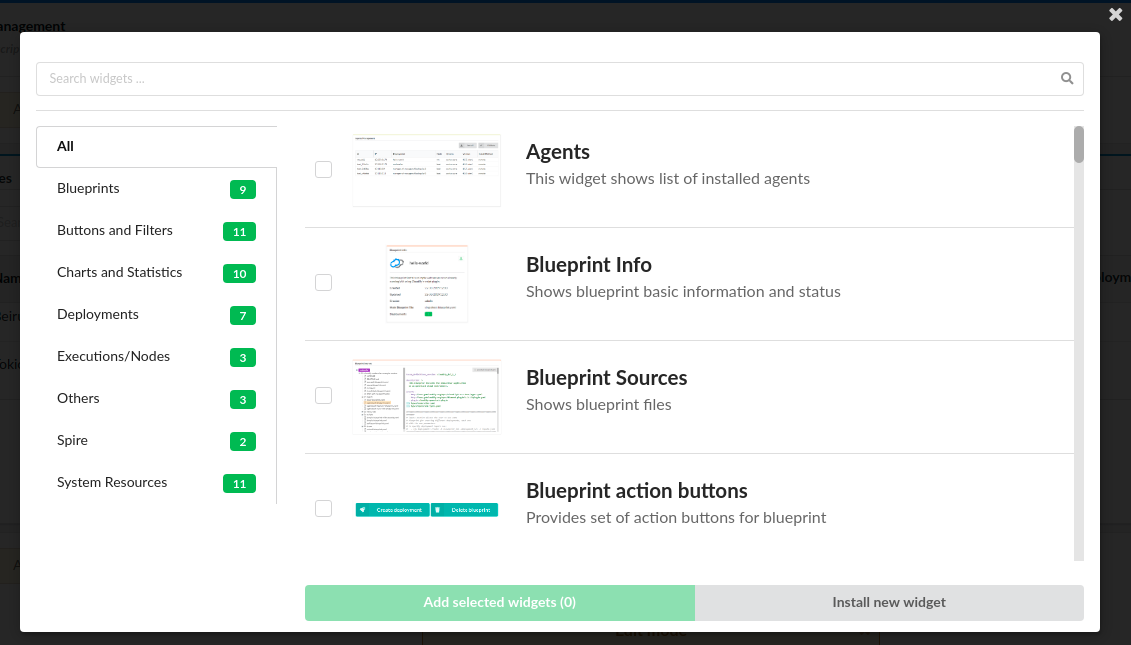
Click on widget thumbnail to see it full-sized.
The widget appears on the page. You can drag and drop it in the position that you prefer. You can resize a widget while holding the resize icon in the lower right corner of the widget.
To delete a widget, click the X icon in the top right corner of the widget.
Working with tabs containers
- Enter the Edit Mode
- If not already present add a new tabs container by clicking Add/Insert Tabs Container
- By default a newly created tabs container has 2 empty tabs
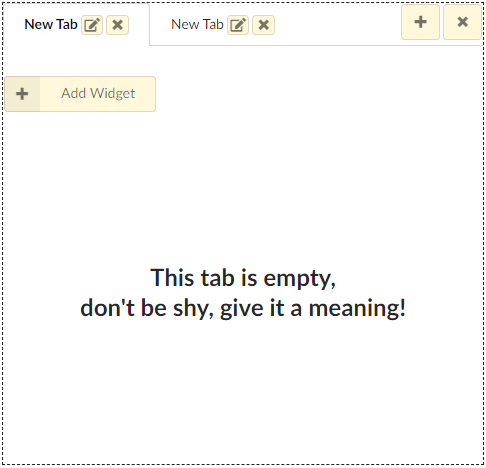
You can add a new tab with the + icon and remove a tab using the X icon nearby the unwanted tab. You can change the name of the tab by clicking edit icon and filling the input field in the modal window. In that modal window you can also change the default tab (the one that will be active by default when entering the page).
Adding Pages
- In Edit Mode, click Add Page in the sidebar.
- Click the Page title at the top of the page and enter a new title for the page. You can also hover the page name in the sidebar and click the edit icon
 to change the name.
 - (Optional) Provide a description for the page at the top, below the title.
- (Optional) Set custom icon for the page by clicking the icon prior to the page name and selecting an icon from a dropdown.
- Add your preferred widgets for the page.
For more information, see Adding Widgets above.
Adding Page Groups
- In Edit Mode, click Add Page Group in the sidebar.
- Hover the page group name in the sidebar and click the edit icon to change the name.
- (Optional) Set custom icon for the page group by clicking the icon prior to the page group name and selecting an icon from a dropdown.
- In the sidebar drag the pages to add them to/remove them from the group.