Cloudify Premium Trial
Cloudify Premium Trial provides a fully functional Premium manager as a Docker container image. This page describes the complete setup flow to get an activated Cloudify trial manager.
Step 1: Install the Cloudify Manager as a Docker container
Deploying Cloudify trial manager as a Docker container is the easiest way to go. This tutorial assumes that you have Docker installed on a local or a remote machine.
Open your terminal and create/start the Docker container (requires password)
docker run -d cloudifyplatform/premium-cloudify-manager-aio:latest -p 8000:8000Verify that your manager is running by browsing to localhost when running locally, or to the hosting machine IP when the Docker server is remote.
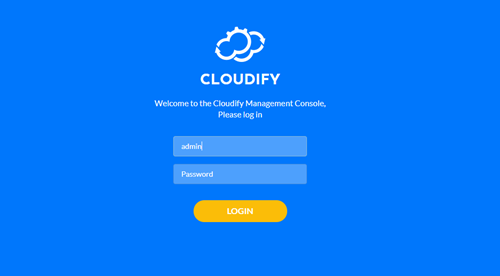
The Cloudify login page should be displayed.
Step 2: Activate your Trial
A Cloudify license is provided to all Cloudify Premium subscribed customers by Cloudify support. Cloudify Premium trial customers receive their trial license via email upon trial request. Request your free 60 days trial at https://cloudify.co/cloudify-premium-download/.
Once you receive your license activation key, use it to activate your Cloudify Manager. Manager activation (and most other Cloudify actions) can be performed through either Cloudify Management Console (UI) or via Cloudify CLI. In this tutorial we will demonstrate the usage of the Management Console.
- Login to the Cloudify Management Console (as done in step 1 above). Login and password are both admin.
- Submit your Cloudify subscription/trial key. Learn more here.
Congratulations! you now have your Cloudify Manager ready.
What’s next?
- To manage your installation using the command line utility on your docker image refer to the local CLI guide
- To run your first hello world example on your local manager refer to the local hello world example (no cloud credentials needed)
- To run your first multi cloud examples on AWS, Azure, GCP and OpenStack using the native Cloudify plugins as well as Cloud Formation, Azure ARM and Ansible plugins refer to the example based tutorials.
- To run your first Kubernetes service on OpenShift, KubeSpray, GKE, EKS or AKS refer to the Kubernetes reference guide .