Okta Authentication
Cloudify enables integration with your local Okta system to authenticate users and provide Role-Based Access Control. This guide describes the configuration steps required to enable Okta authentication.
Other SAML 2.0 authentication solutions can be integrated with Cloudify. However, only Okta is tested and officially supported.
To enable Okta integration, the openssl package on Cloudify Manager needs to be of version 1.0.2. If you are running a Cloudify image this is already the case, however if you are installing Cloudify make sure to update the openssl package prior to the Okta configuration.
Part 1: Configuring Okta
To configure Okta authentication in Cloudify, first add Cloudify as an application in your Okta system. The instructions below refer to Okta’s Classic UI - other views may differ in configuration parameters.
Okta Configuration Prerequisites:
You’ll need Okta administrator priveldges and your Cloudify IP address/URL (or load balancer IP address/URL for Cloudify HA cluster configuration).
Adding Cloudify as an Okta Application
- Open the Okta Admin dashboard
- From the top menu, choose Applications
- Choose Add Application
- Select Create New App
- Choosing a meaningful name will be helpful when additional managers are added. For example,
Cloudify DevorCloudify Production. - In the Create a New Application form, choose as sign on method “SAML 2.0”
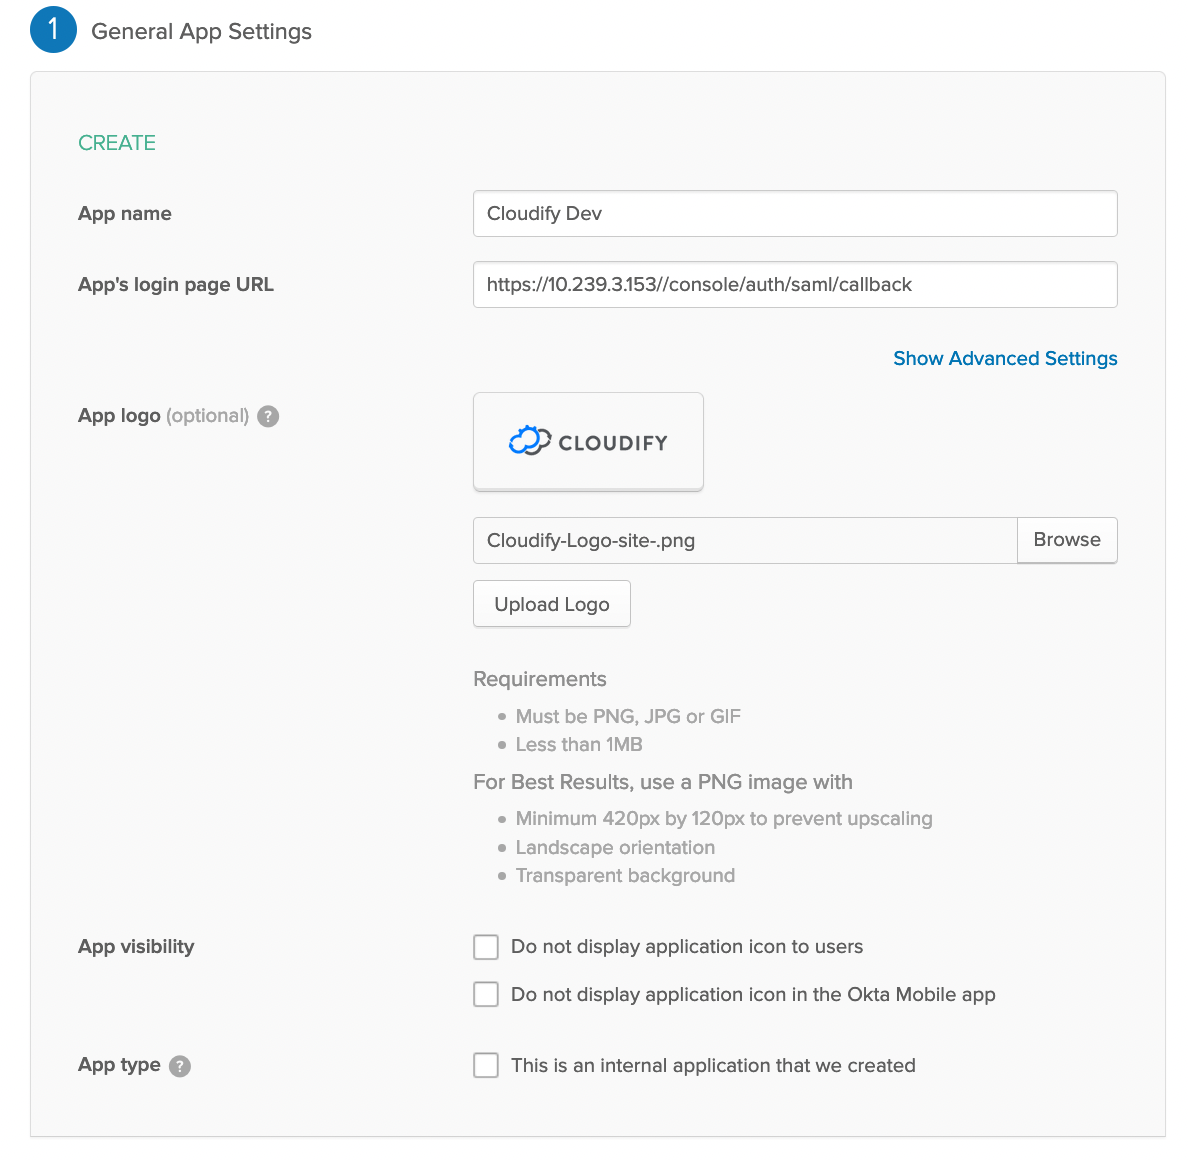
- Under General Settings configure the application name, such as Cloudify Dev and add the logo.
Under SAML Settings, configure the following:
General:
a. Add the Single sign on URL: https://cloudify-manager-ip/console/auth/saml/callback
b. Make sure the box for Use this for Recipient URL and Destination URL is checked.
c. Add the Audience URI: https://cloudify-manager-ip/console/auth/saml/callback
d. Attribute Statements - add the following:
- Name - firstname , Value - user.firstName
- Name - lastname , Value - user.lastName
- Name - email , Value - user.email
- Name - username , Value - user.login
e. Groups Attribute Statements: Add all relevant user groups, or generally use: Name - groups , Filter - Regex, Value - cloudify*

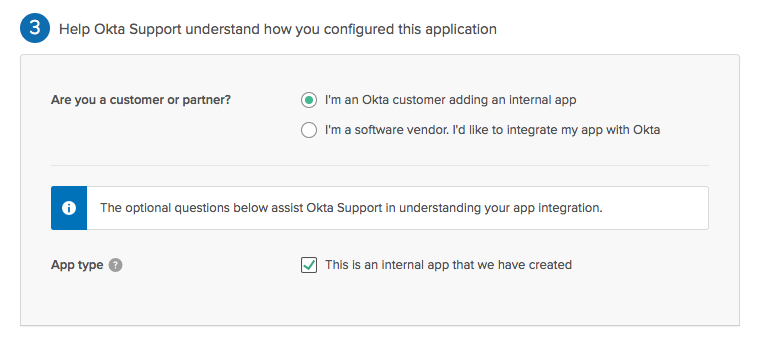
f. Under Feedback, define Cloudify as an internal app
Additional Configuration
- In Users, assign the new Cloudify app created to the relevant users or groups.
- Provide the Okta Identity Provider Single Sign-On URL and certificate to the Cloudify Manager administrator. They can be found here:
Application page > Sign on tab > Settings section > SIGN ON METHODS > View Setup Instructions
Part 2: Configuring Cloudify
To complete the Okta authentication configuration, Okta needs to be configured in the Cloudify Manager.
Cloudify Prerequisites:
You’ll need the following:
* SSH access to the Cloudify VM/s with sudo priveldges.
* Okta CA Certificate (provided by your Okta administrator)
* Identity Provider Single Sign-On URL (provided by your Okta Administrator)
###Adding Okta Authentication in Cloudify
SSH into the Cloudify Manager VM and follow these steps:
Add the Okta certificate for Cloudify (provided by your Okta admin, see above). Save the certificate as okta_certificate.pem in /etc/cloudify/ssl/
Restart Cloudify REST service using the following command:
sudo systemctl restart cloudify-restserviceConfigure the Cloudify Management Console to use Okta with the following steps:
a. Open the file /opt/cloudify-stage/conf/app.json for editting
b. Under saml section change the values as follows:
“enabled”: true (enabling saml mode)
“certPath”: “/etc/cloudify/ssl/okta_certificate.pem” (SAML certificate path which is used by the Cloudify Manager and Cloudify Management Console)
“ssoUrl” -
(redirect url to the application at the Okta identity provider, can be found under setup instructions of the newly created Cloudify app in Okta) “portalUrl” -
(redirect url to the organization portal: https://my-org.okta.com) c. Restart the Cloudify Management Console service using the following command:
sudo systemctl restart cloudify-stageCreate new user-groups in Cloudify, matching the user groups in Okta (must be exactly the same names) using the following command for each group:
cfy user-group create <user_group_name> -r <role>Assign the user-groups to tenants using the following command:
cfy tenants add-user-group <user_group_name> -t <tenant_name>
Adding Okta Authentication in Cloudify HA Configuration
- The Load Balancer IP address (or URL) should be used for SSO URL in Okta
- Each Cloudify manager in the HA cluster must be configured according to the steps above.