Templates Management
In Cloudify’s premium edition, The UI framework allows sys-admins to define what sets of pages the users see when they log into the system, and which widgets these pages contain. Those pre-defined sets of pages are called UI Templates.
- A UI template applies for specific user-roles, in specific tenants.
Default Templates
Cloudify provides by default the following templates:
Initial-template-admin - Applies to sys-admin users in all the tenants, and includes the following pages:
- Dashboard - An overview of the existing executions.
- Blueprints Catalog - A Blueprints catalog derived from a github repository. By default, presents the Cloudify Examples catalog.
- Local Blueprints - A list of all the blueprints which were uploaded to the current tenant. From this page you can access the Blueprint drill-down page, by clicking on a specific blueprint.
- Deployments - A list of all deployments created in the current tenant, and the statuses of their nodes. From this page you can access the Deployment drill-down page, by clicking on a specific deployment.
- Tenant Management - Users, User-Groups and Tenants Management. This page does not exist in the community edition.
- High Availability - A view-only presentation of the system’s high-availability status.
- System Resources - Plugins, Secrets and Snapshots management.
- Statistics - Predefined, commonly used statistics graphs derived from the diamond plugin metrics.
Initial-template - Applies to all non-admin users in all the tenants to which they have access, and includes the following pages:
- Dashboard - An overview of the existing executions.
- Blueprints Catalog - A Blueprints catalog derived from a github repository. By default, presents the Cloudify Examples catalog.
- Local Blueprints - A list of all the blueprints which were uploaded to the current tenant. From this page you can access the Blueprint drill-down page, by clicking on a specific blueprint.
- Deployments - A list of all deployments created in the current tenant, and the statuses of their nodes. From this page you can access the Deployment drill-down page, by clicking on a specific deployment.
The users permissions to perform actions in these pages depend on the roles they have on the tenant.
Custom Templates
In order to create new templates, sys-admins can choose the “Template Management’ option in the user menu:
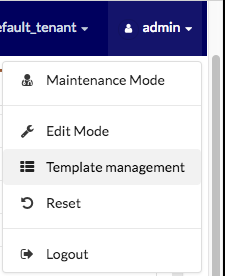
Choosing this option will present all the existing templates and pages on the current manager. From here, you can create new templates and pages and edit existing ones.
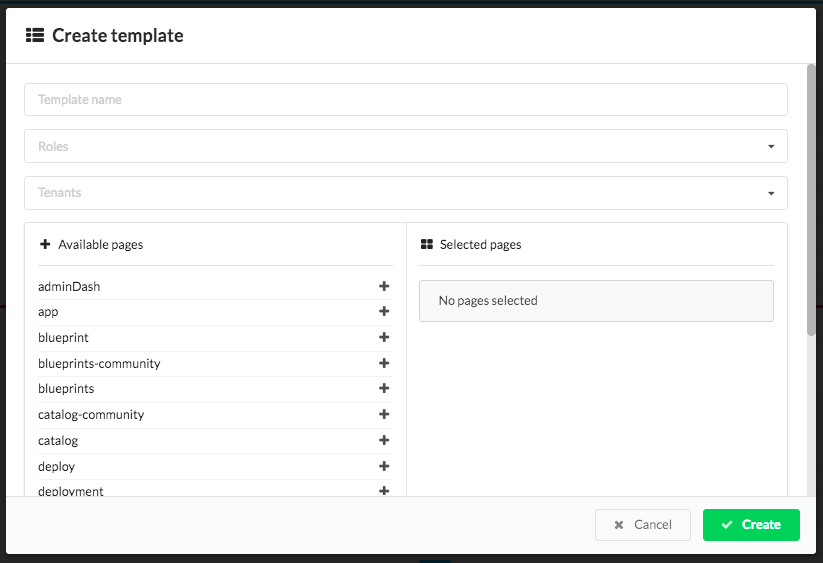
Creating new templates
After clicking the “Create template” button, specify the template’s name and choose to which user roles and in which tenants it should apply. Next, choose the pages you would like to include in the template from the pages’ list on the left, and choose “Create”.
The template will now apply to all users with the relevant roles in the specified tenants. In order for the template to apply to users who already logged in the system once, those users will have to choose the option “reset” under the user’s menu. This action will re-load the updated templates from the system. Please notice that the new template will run over any pages that the users manually created using the “add page” option in “edit mode”.
In case a user fits more than one template in a specific tenant (if the user has more than one role in this tenant), the template which will apply to it will be the first template on the list, from all those it fits.
Creating a new page
After clicking the “Create page” button and specifying the name of the new page, you will see the new page appear in the page’s list, and a Page Id will be automatically created for it. You will then be able to choose or edit it from the actions menu to its right. Upon choosing the edit option, the page will be open in “edit mode”, in which you can add widgets and edit their properties, order and appearance. You can also change the page name by clicking on the name shown on the top (after “Template management/”). Once you are happy with your page, choose “save” in the page management menu, and once back in the Template Management window you can now choose a template and add the page to it. Once you are done creating and editing the templates and pages, choose “Close” from the top right corner.