Cloudify Community
The Cloudify free community version contains a fully functional Cloudify engine that supports most of the Manager’s capabilities. This makes it ideal for trying out Cloudify without a premium license. You can read more about the differences between Cloudify versions here.
The community version is available as an RPM, OpenStack Image, or Docker container. This page describes the steps necessary to deploy the Cloudify Trial Manager as a Docker container.
You will need a host with Docker installed to run the Cloudify community container image.
Step 1: Install the Cloudify Manager as a Docker Container
Deploying the community version of the Cloudify Manager is simple. Using a container provides an easy way to get started with Cloudify.
To deploy the container image, simply launch a terminal and create the container:
docker run -d -p 80:80 cloudifyplatform/community-cloudify-manager-aio:latest
This will publish the web interface on port 8080. Then verify that the Cloudify Manager is running by navigating to http://localhost:8080. The Cloudify login page should appear. The default username and password are both admin.

Step 2: Fill in Contact Details
NOTE: Internet access is required to complete this step.
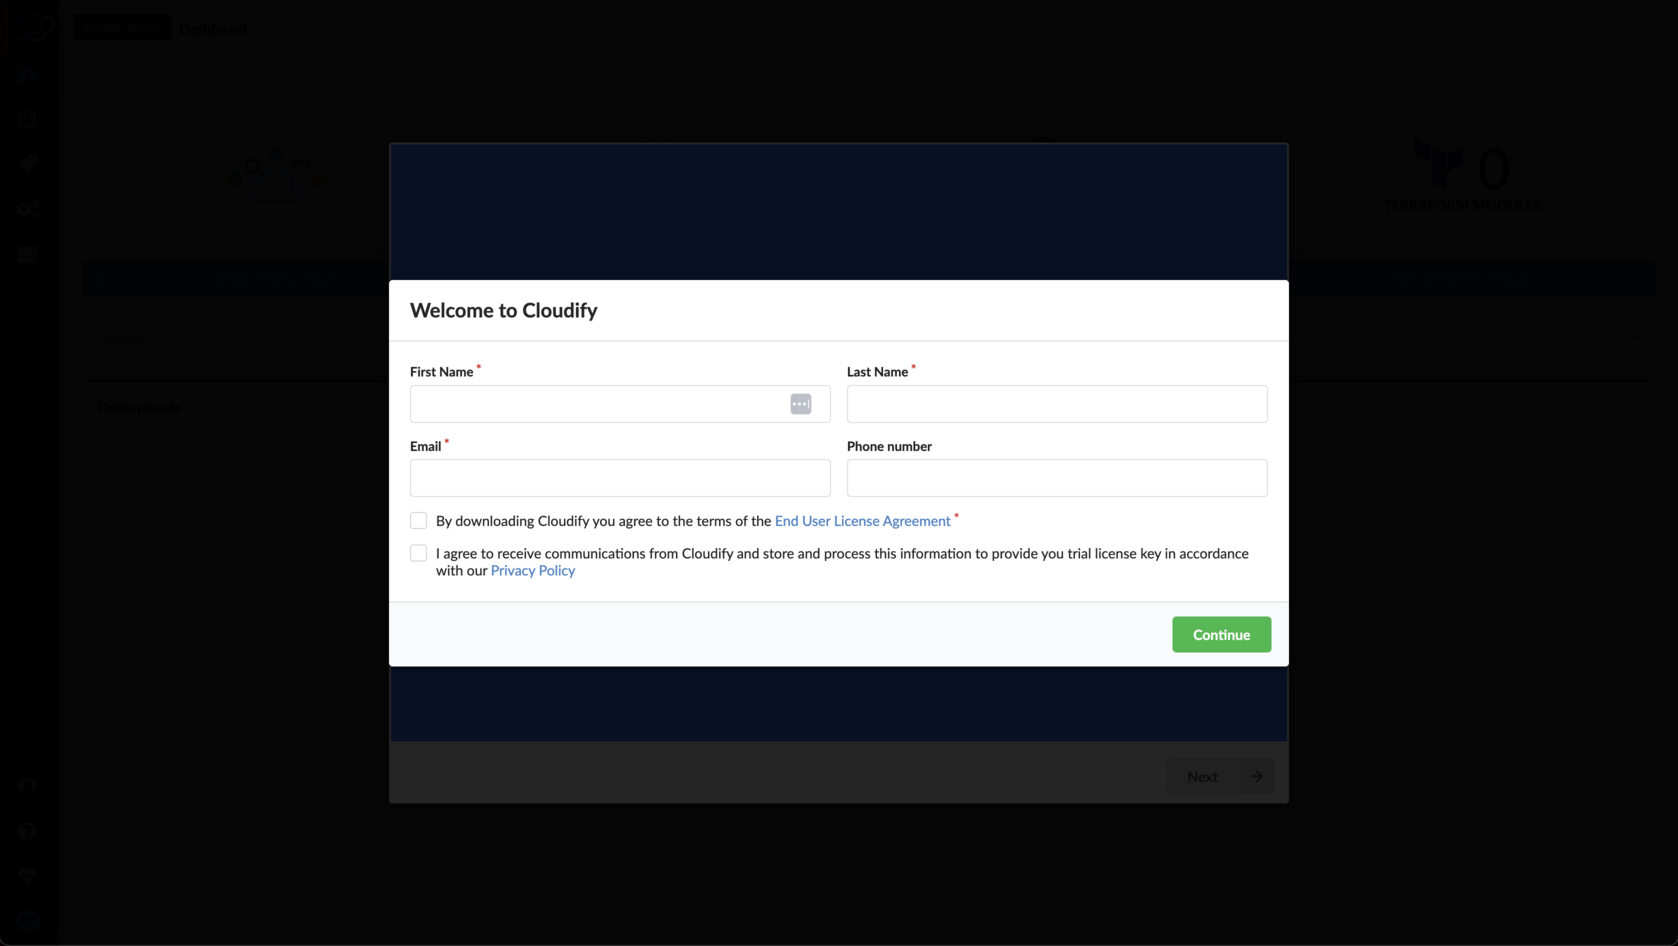
Once you log into the Community, you’ll be asked to fill in your contact details. You need to fill in the form to access the Cloudify Manager. It’s required only once on the first log in.

Step 3: Install your First Deployment on your New Cloudify Manager
Check out your new Cloudify Manager by installing the Local Hello-World Example Deployment.
This example demonstrates how you can use Cloudify to easily install a local HTTP server with a hello-world page on it.
Step 4: (Optional) - Setup your Command Line Interface (CLI)
Cloudify offers multiple user interfaces. All orchestration actions can be performed from the Management Console UI you logged into in Step 2, however, in many cases, a CLI access from your Mac, Windows, or Linux station is easier.
Follow these instructions to deploy your CLI.
Next Steps
Now that you have access to a Cloudify Manager environment, we recommend performing some additional activities to become comfortable with Cloudify. The following suggestions will get you started!
- Try out the local Hello World example using your new manager. No cloud credentials are required for this simple example.
- Run your first multi-cloud example on AWS, Azure, GCP, and OpenStack using the native Cloudify plugins as well as Cloud Formation, Azure ARM, and Ansible plugins by following the example-based tutorials.
- Run your first Kubernetes service on OpenShift, KubeSpray, GKE, EKS, or AKS by following the Kubernetes reference guide.
- Manage your installation using the command line utility by reviewing the local CLI guide.
