Getting started
The Cloudify Composer comes as part of the Cloudify Premium Manager.
Starting
You can access Cloudify Composer from your browser directly via http://<manager-ip>/composer or
https://<manager-ip>/composer.
Cloudify Composer uses the Cloudify Premium Manager user definitions and to access the Cloudify Composer, you have to login to the Cloudify Management Console.
Main page
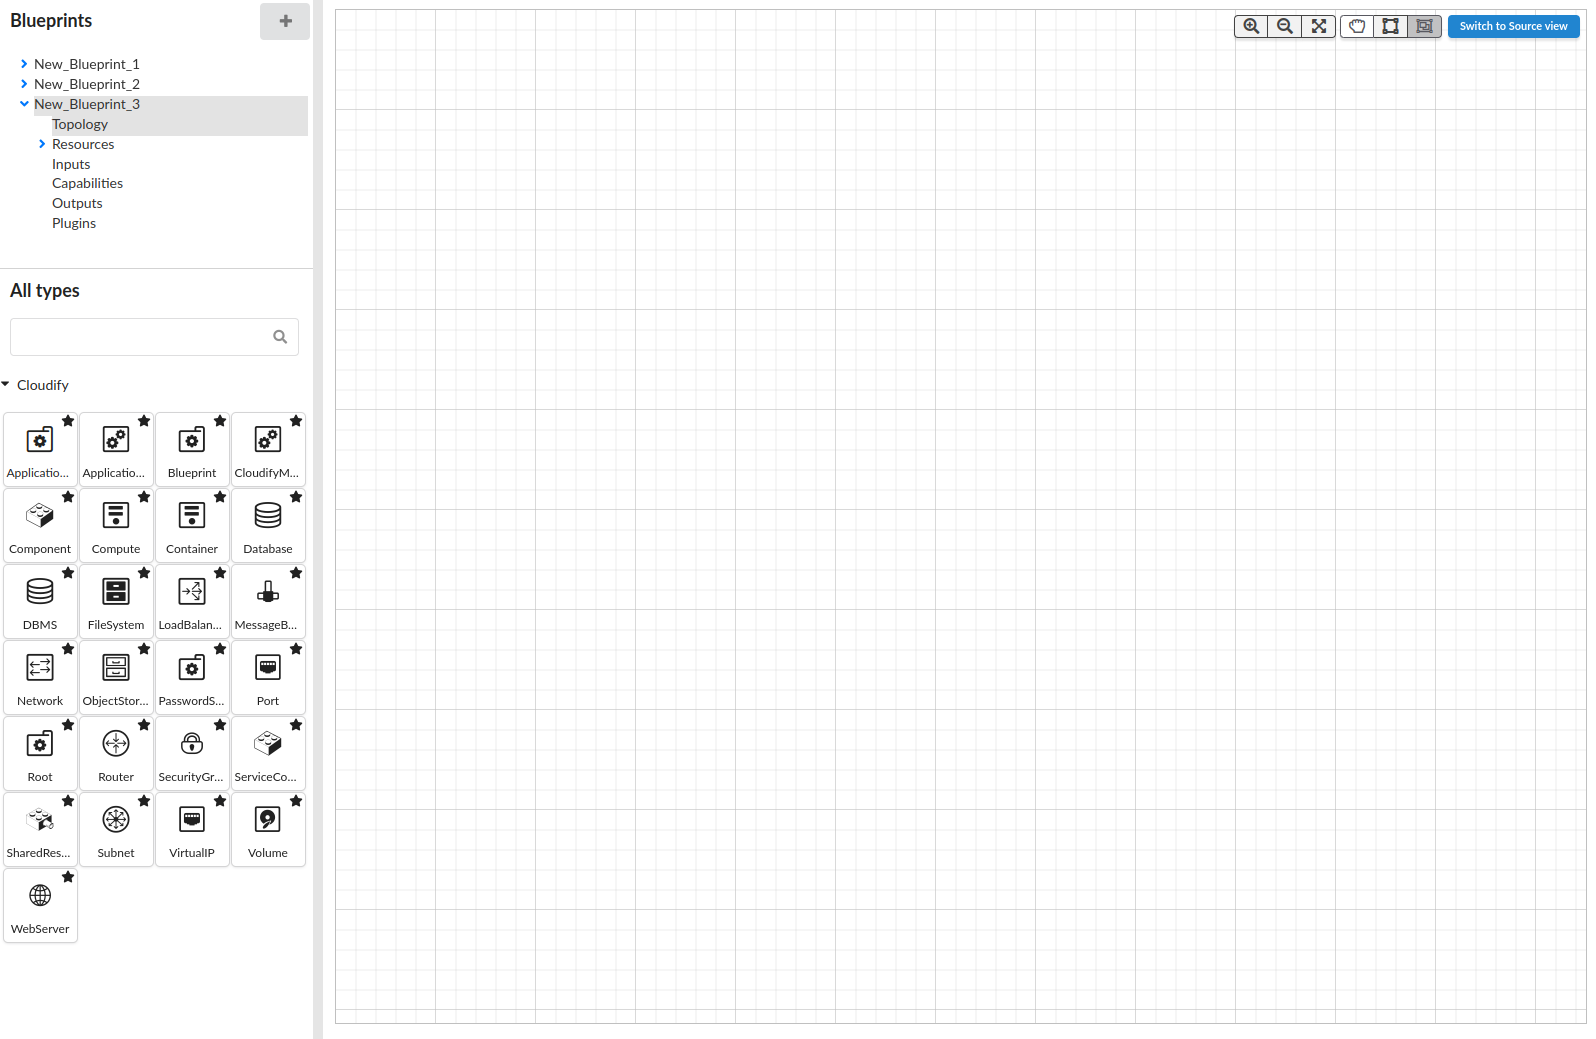
When you have logged in, the default Topology page is displayed, with an empty blueprint for your use. The left side of the Cloudify Composer screen displays:
- Project View pane that contains list of all blueprint packages created within or imported into Cloudify Composer
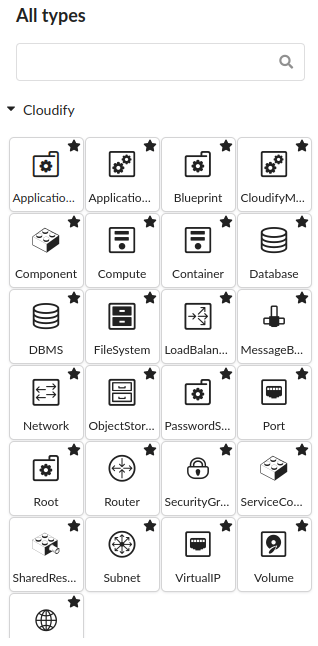
- Stencils pane that contains node types that can be used as the building blocks of the topology.
By default the main pane is a canvas onto which you can drag and drop nodes and define the relationships between them.

Project View
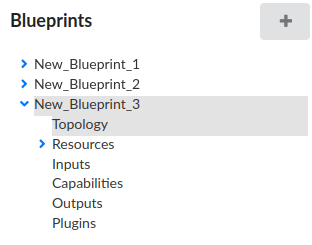
All available blueprints that you created or imported are listed in the left pane, called Project View. The active blueprint you are working on is highlighted. Blueprints appear in alaphabetical order.

Under each blueprint you have the following navigation options:
- Topology - see Creating blueprint for details
- Resources - see Managing resources for details
- Inputs, Outputs and Capabilities - see Managing Inputs, Outputs and Capabilities for details
- Plugins - see Managing Plugins for details
New blueprint dropdown
At the top of the list there is a dropdown button that allows for adding a new blueprint - creating an empty blueprint, importing an existing blueprint or createing blueprint from an existing HELM chart.

Importing blueprint
To import a blueprint, you must specify the archive that contains the blueprint package (either local or a URL), and the name of the main .yaml file in the package that represents the topology of your environment (in cases in which the archive package contains more than one .yaml file). If the field is left empty, the default is “blueprint.yaml”.
Creating blueprint from HELM chart
To create a new blueprint from a HELM chart it is required to specify URL to the HELM repository and HELM chart to be used.
In addition, Cluster credentials need to be specified by selecting input names or secret keys to be used for getting the values.
Blueprint actions
To rename, clone, validate, upload to the Cloudify Manager, download or delete a blueprint, hover your cursor over blueprint name and click the relevant icon.

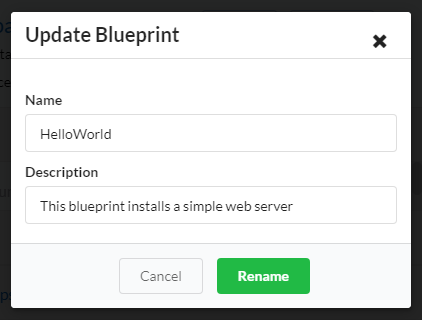
Rename feature allows you to change not only the blueprint name, but also the blueprint description

Uploading enables you to select to which of the tenants on the Cloudify Premium Manager you want the blueprint to be uploaded. You can only upload to tenants that your user credentials give you permission to access.
The download operation downloads the last saved blueprint package as a TAR.GZ or ZIP archive.
Validating a blueprint reviews the source code, to ensure that logical concepts are valid.
Stencils
All available node types that your current blueprint can use are displayed in the left pane, called Stencils.
This pane is shown only when you are on Topology page.

