Uploading a Blueprint
Get the latest docs
You are looking at documentation for an older release. Not what you want? Go to the current release documentation.Before Cloudify Manager can deploy your blueprint, you must upload it. You can upload a blueprint using the CLI or (for Premium users) the Cloudify Web interface.
Either use a blueprint that you have written or download an example blueprint to upload.
Uploading via the CLI
The Cloudify command-line interface provides two methods for uploading your blueprint to Cloudify Manager.
publish-archiveenables you to upload a pre-packaged archive, for example *.tar, *.tar.gz, *.tar.bz, or *.zip.uploadenables you to specify a path to a blueprint file. Cloudify will manage compressing the folder and its contents.
The following is an example of publish_archive:
$ cfy blueprints publish-archive -l ARCHIVE_LOCATION -b BLUEPRINT_ID -n BLUEPRINT_FILENAME
...

...
The following is an example of upload:
$ cfy blueprints upload -b BLUEPRINT_ID -p BLUEPRINT_FILE_LOCATION
...

...
Uploading a Blueprint via the Cloudify Web Interface
If you are a Premium version user, you can upload a pre-packaged blueprint archive, such as *.tar, *.tar.gz, *.tar.bz, *.zip., using the Cloudify Manager UI.
- On the Blueprints widget, click Upload.
- In the Upload blueprint dialog, either specify the URL of the blueprint archive, or select it from the filesystem.
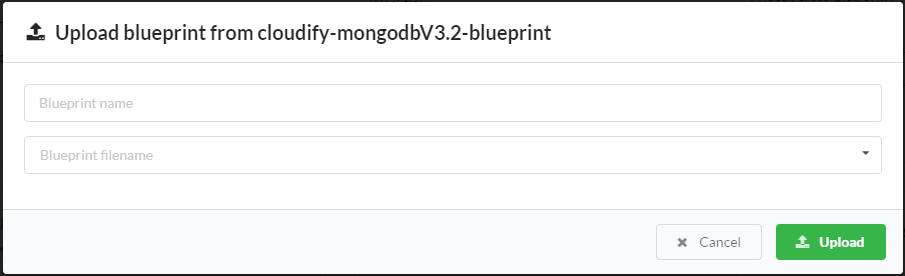
- Specify a distinguishing name for the blueprint.
For example, you might want to specify one instance of the blueprint upload asblueprint-templateand another as ablueprint-with-input. - (Optional) Specify the YAML filename.
This field refers to to the *.yaml file that contains the application topology. If left blank, the defaultblueprint.yamlfile is used. - Click Upload to upload the upload the blueprint package.
Uploading a Blueprint via the Command Line
The following scenario describes how to use the CLI to upload the Nodecellar blueprint.
If you have downloaded cloudify-nodecellar-example from github and want to use that blueprint for your specific IaaS, the appropriate command from the following:
OpenStack
cfy blueprints upload -b nodecellar -p openstack-blueprint.yaml
SoftLayer
cfy blueprints upload -b nodecellar -p softlayer-blueprint.yaml
Amazon Web Service
cfy blueprints upload -b nodecellar -p aws-ec2-blueprint.yaml
vCloud
cfy blueprints upload -b nodecellar -p vcloud-blueprint.yaml
The -b flag assigns a unique name to the blueprint on Cloudify Manager. Before creating a deployment, review this blueprint.
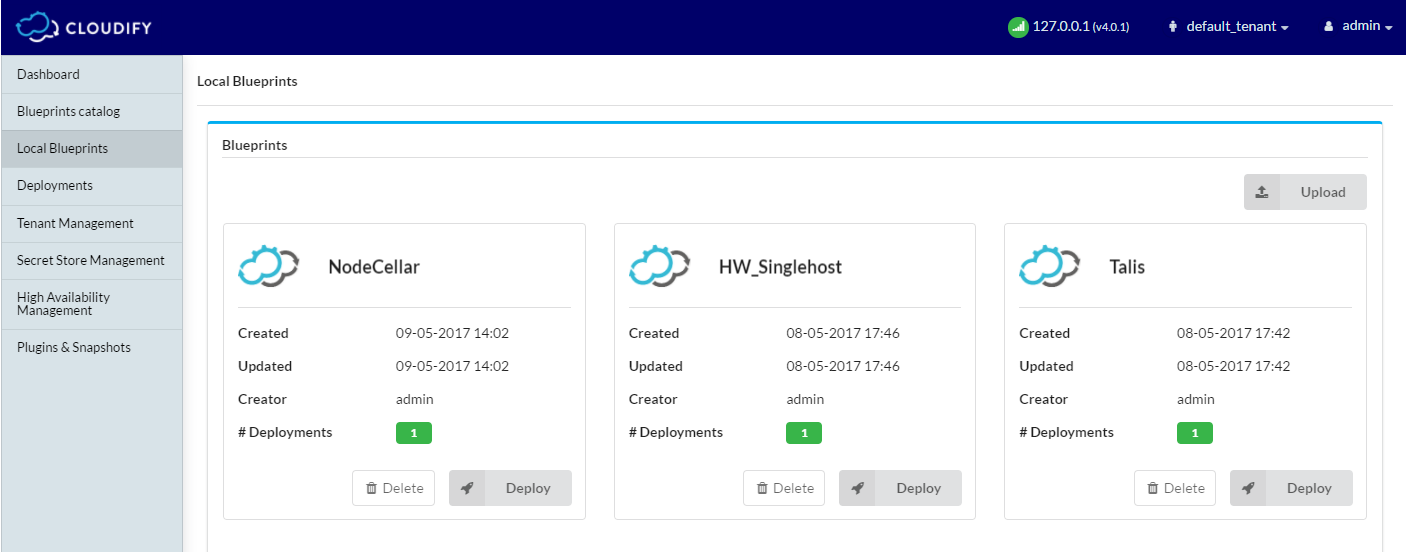
Navigate to the Cloudify Manager URL and refresh the screen. The nodecellar blueprint widget is displayed.
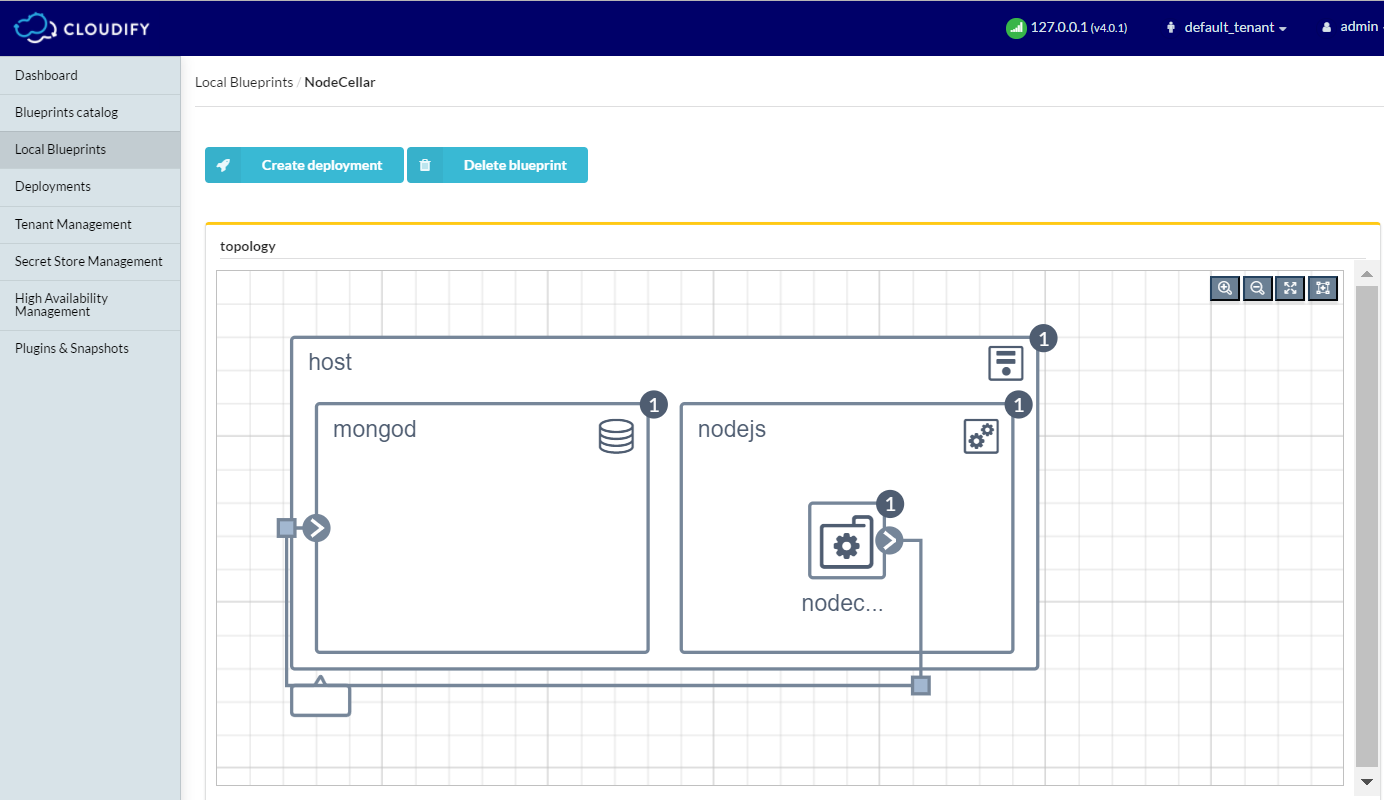
Click the blueprint to view its topology.
A topology consists of elements called nodes.
In this case, the following nodes exist:
- Two VM’s (one for mongo and one for nodejs)
- A nodejs server
- A MongoDB database
- A nodejs application called nodecellar (which is a sample nodejs application backed by mongodb).
What’s Next
You can now deploy your blueprint.