Executing Workflows
Get the latest docs
You are looking at documentation for an older release. Not what you want? Go to the current release documentation.Once a deployment is created, we must execute a process that will perform the application’s actual manifestation in your chosen environment.
This process is done using the install workflow which is the default workflow provided by Cloudify for deploying your application.
A user can create workflows for different types of actions such as deploying code, changing infrastructure state and even for overriding the default Install Workflow.
Executing a Workflow via the CLI
To execute a workflow execute:
cfy executions start -w <WORKFLOW_NAME> -d <DEPLOYMENT_NAME>
Executing a Workflow via the Web UI
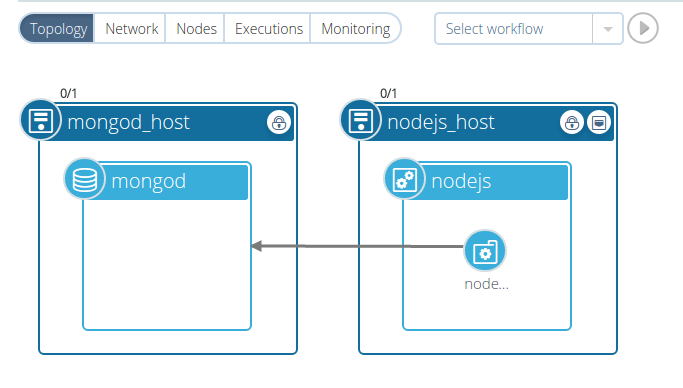
Navigate to the relevant Deployment.
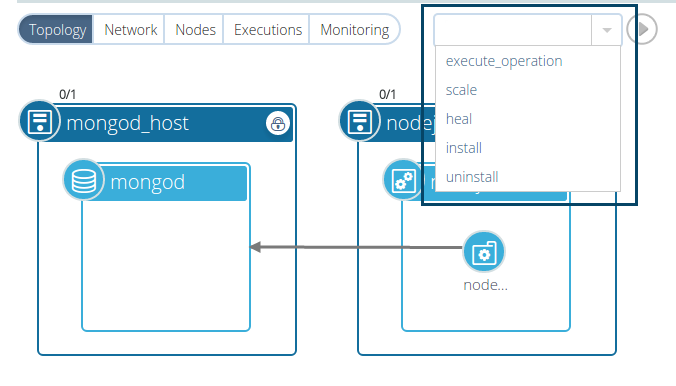
Select the desired Workflow from the dropdown.
Note that until a workflow is selected, the ‘run execution’ play button is disabled.
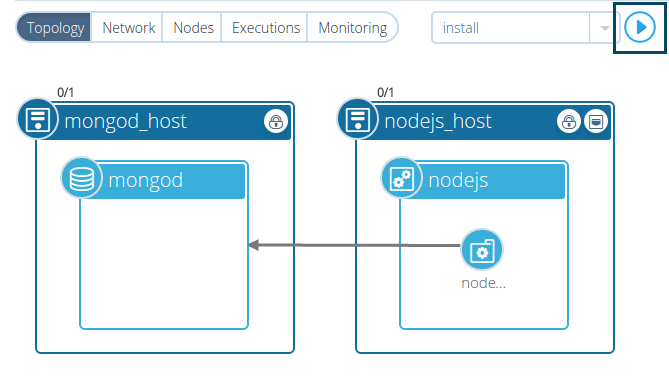
Click the ‘run execution’ play button to start the workflow execution.
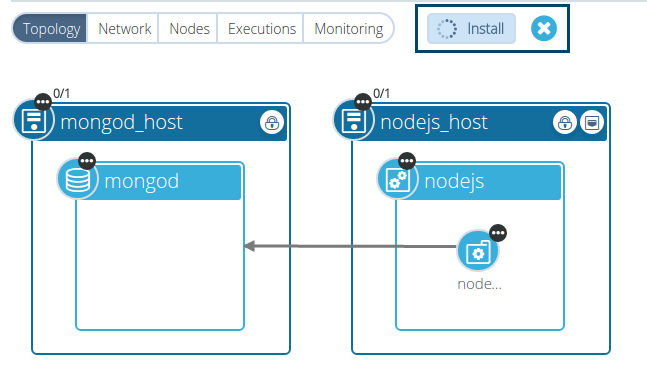
After the ‘run execution’ button is clicked, the progress spinner is displayed. The execution can be cancelled by clicking on the ‘cancel execution’ X button.
Install the Application
We’ll now execute the Install Workflow from our nodecellar deployment:
Type the following command in your terminal:
cfy executions start -w install -d nodecellar
This will take some time (depending on the IaaS provider), during which the resources will be created and configured.
To track the progress of the installation, you can look at the events emitted to the terminal window.
Each event is labeled with its time, the deployment name and the node in our topology that it relates to, e.g.
2014-12-02T09:46:05 CFY <nodecellar> [nodejs_d36c8] Creating node
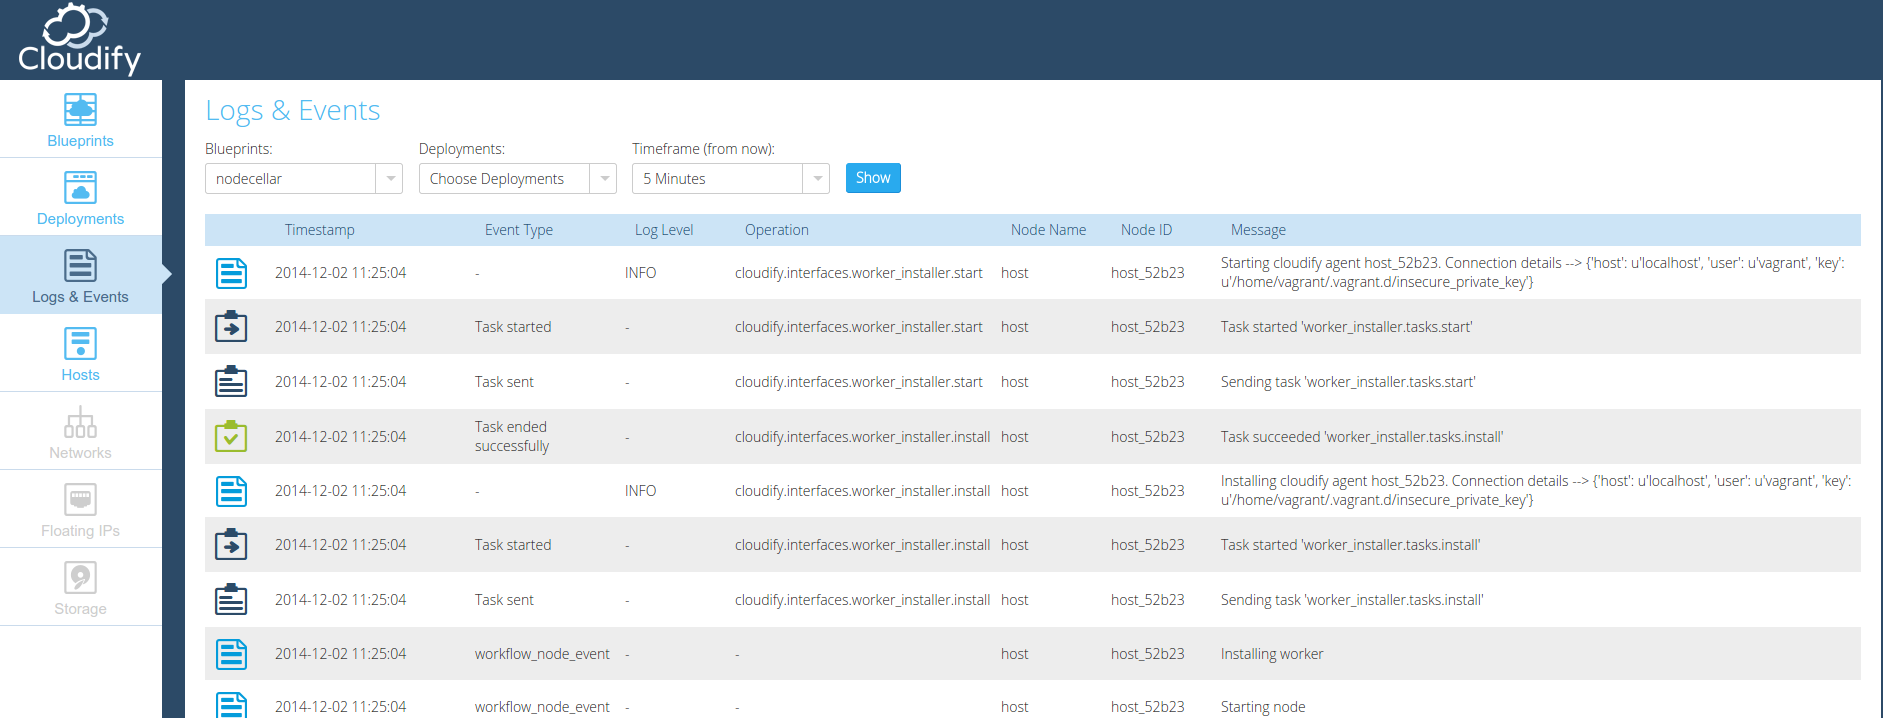
In the Web UI, you can checkout the Logs/Events page for an overview of all Logs and Events in a specific Manager.
You can also have a look at the Monitoring tab and see some default metrics once the application has been installed:
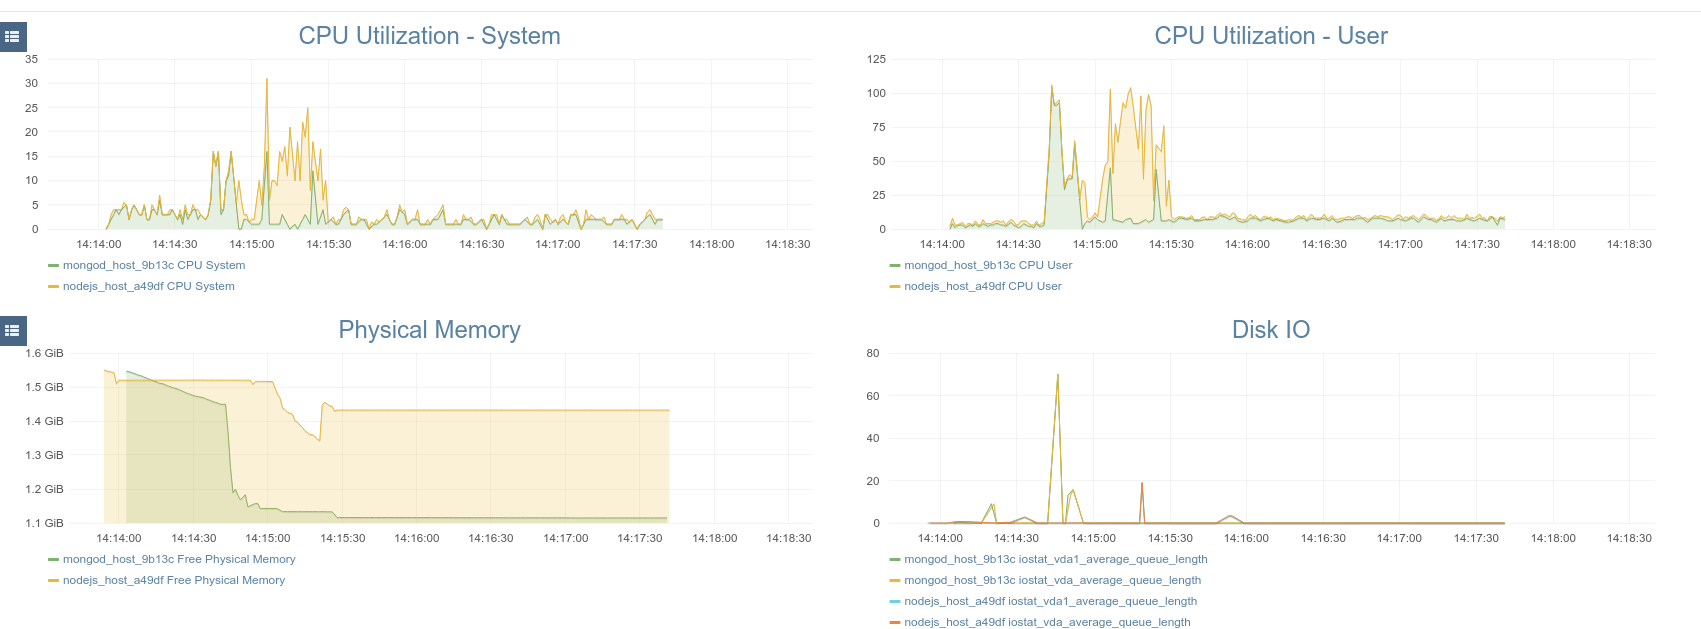
Note
The blueprint we installed actually defines a custom collector for the Mongo database. To add mongo related graphs to the dashboard, have a look at Adding Custom Graphs.
Test Drive the application
Once the workflow execution is complete, we can view the application endpoint by running:
cfy deployments outputs -d nodecellar
Hit that URL to see the application running.
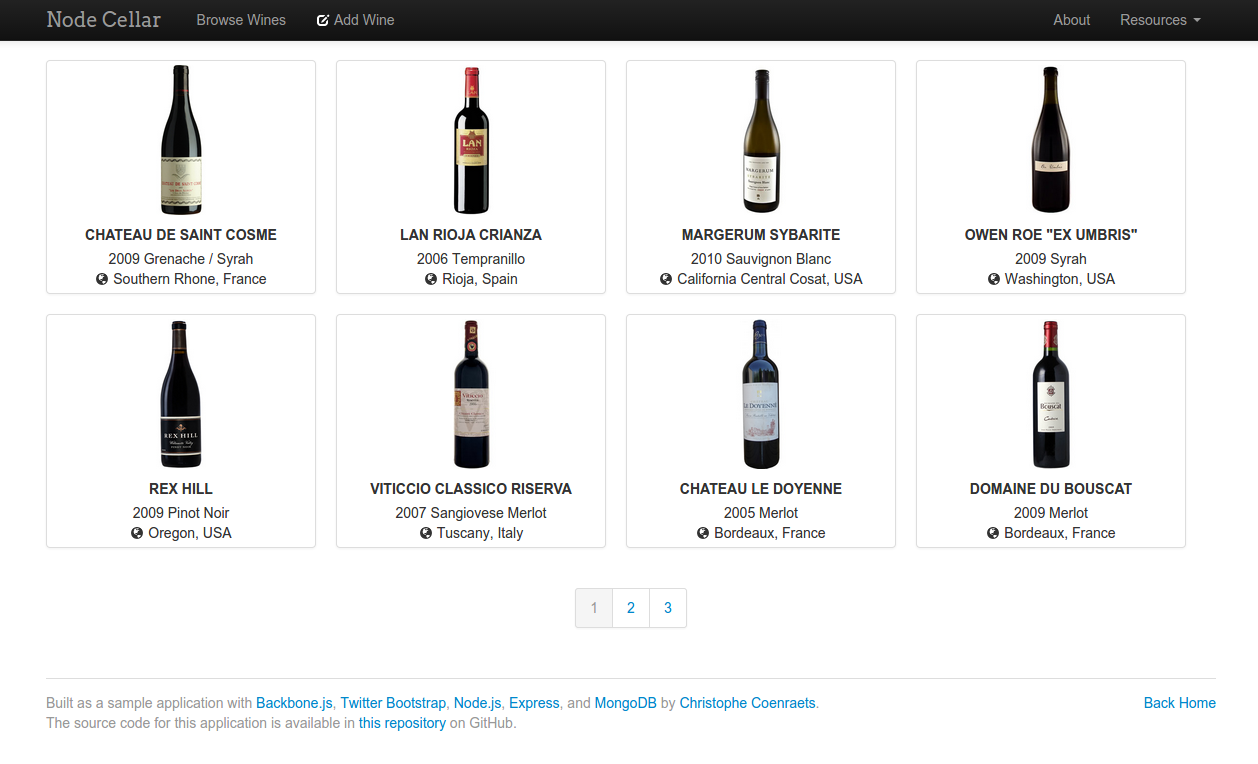
The nodecellar application should be up on your screen.
Click the “Browse wines” button to verify that the application was installed successfully and can access the mongodb database to read the list of wines.
Uninstall the application
Uninstalling the deployment is just a matter of running another workflow, which will teardown all the resources provisioned by the install workflow.
To run the uninstall workflow, type the following command:
cfy executions start -w uninstall -d nodecellar
Similarly to the install workflow, you can track the progress of the
uninstall process in the CLI or the web UI using the events that are displayed in both.
Once the workflow is completed, you can verify that the resources were indeed destroyed.
What’s Next
Now that the uninstallation process is complete, you can delete the deployment.