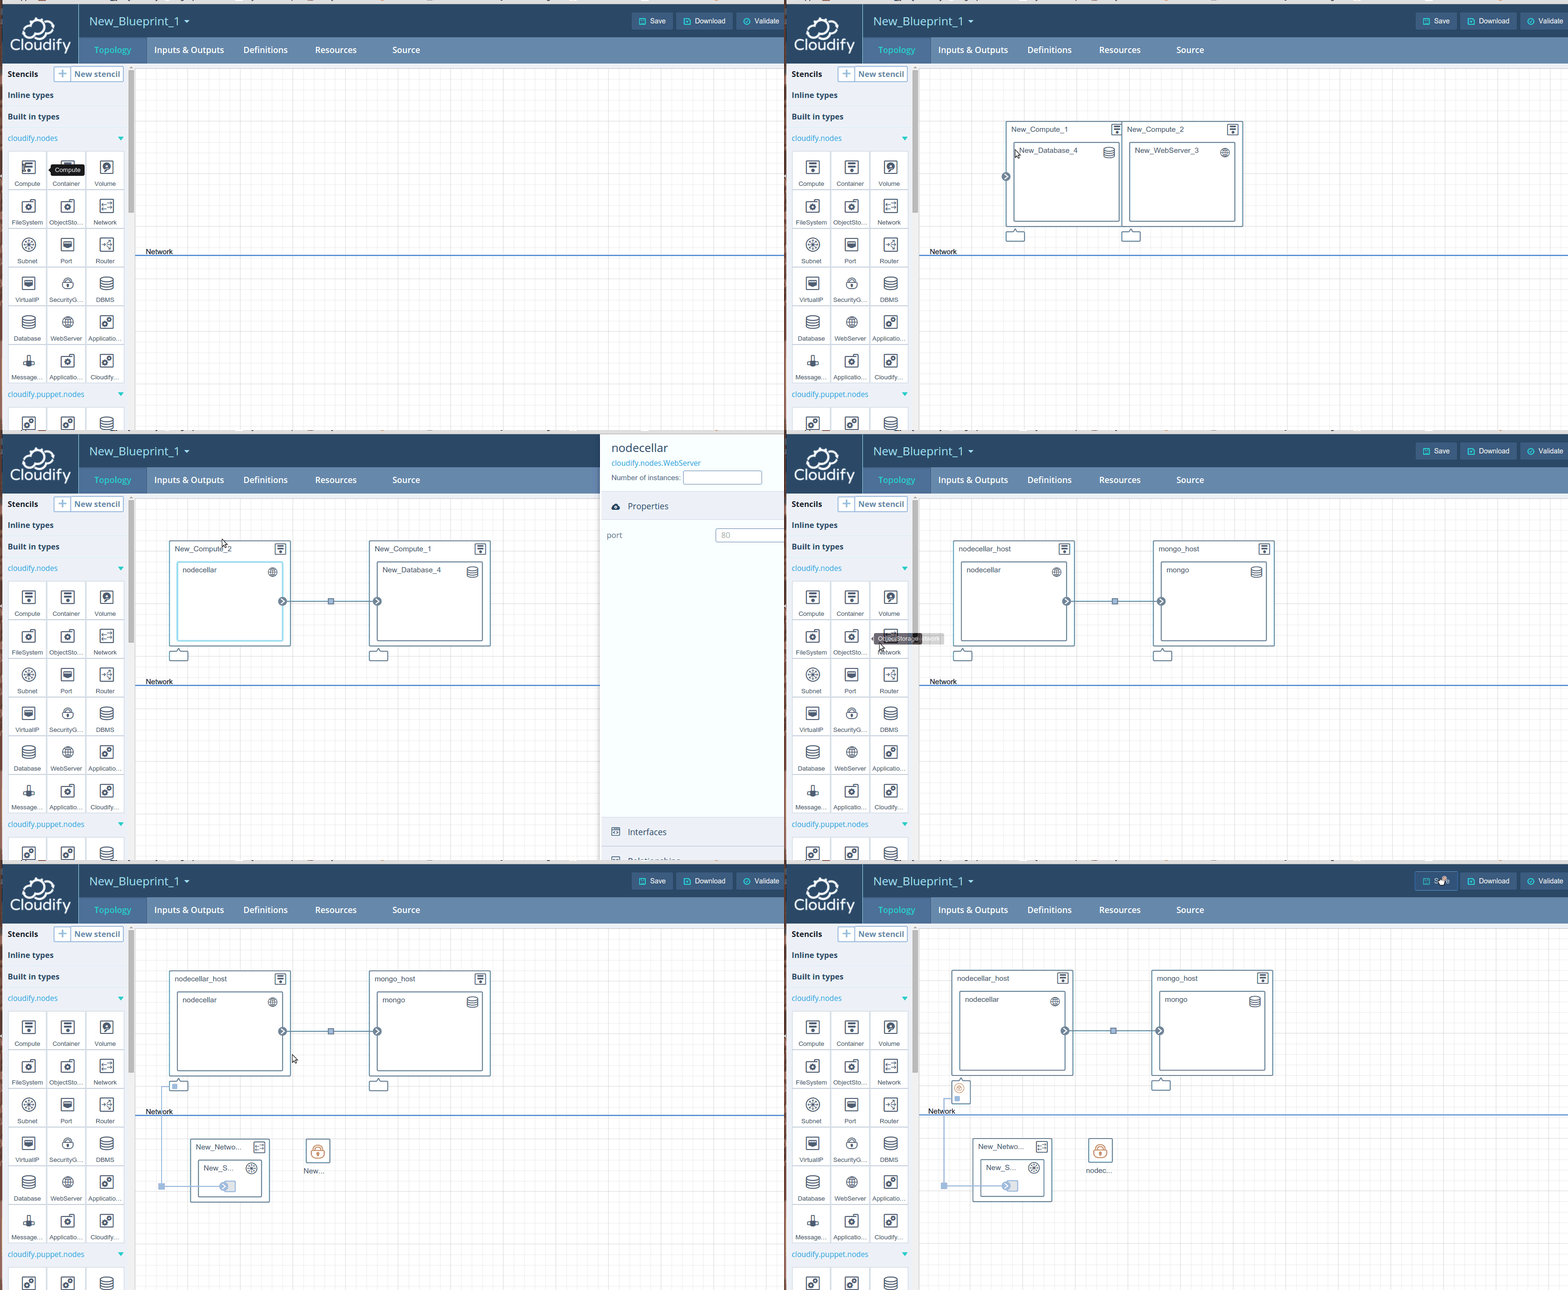
Blueprint Creation
Get the latest docs
You are looking at documentation for an older release. Not what you want? Go to the current release documentation.
Using and Managing Stencils
The composer is delivered with some built in node types.
In order to add new types, press the ‘New stencils’ button and fill in the details.
You can upload new types by YAML file or a URL.
The new types will be added in a separate panel with a caption of the types namespace.
Each type will appear with an icon derived from the parent type.
When you log in, you will see the list of built in types, as well as the stencils you added in previous sessions.
Adding Nodes to The Blueprint
Once you find the node type you want to add to the blueprint, drag it from the stencils onto the canvas.
The composer will help you by allowing only legal actions.
Editing a Node
To edit a node, click on it to open the node’s details panel. Lets overview its content.
- Node Name - The name must be unique. The change will only apply after you press Enter. Escape to cancel.
- Deleting a Node - This operation cannot be reversed. When deleting a node connected to other nodes, the relationship connecting the deleted node will be deleted as well.
- Number of Instances - Unless otherwise stated, the number of set node instances is 1.
- Properties - The properties presented depend on the node type.
- Interfaces - Interfaces depend on the node type as well, and enable selecting the implementation for every stage of the node lifecycle. From here you can reference external plugin implementation for the interface, as well as define the list of inputs.
- Node Relationships - Relationships will only be displayed for nodes connected to other nodes. By clicking a relationship, you will get the relationship details panel where you can edit it in a similar manner.
Nodes Relationships
To define a relationships between nodes, simply connect the nodes.
Note you have to draw the connecting line from one of the edges to one of the edges, where the connector icon is available.
The relationship can then be edited by clicking on it and configuring the relevant relationship parameters.
Network Types
Adding Virtual IP (floating/elastic IP)
To define a floating IP or elastic IP drag the relevant stencil to the topology canvas, as part of the networking area. Then, click on the node you’d like to add the IP to and a details panel will be open on the right.- Click on ‘Network’
- Under the Virtual Ips section click on ‘Add virtual ip’
- Choose the virtual IP from the drop down list
Removing Virtual IP (floating/elastic IP)
To remove a virtual IP associated with a node, click on the node you’d like to remove the IP from and a details panel will be open on the right.- Click on ‘Network’
- Under the Virtual Ips section find the virtual IP
- Click on the red X button
You can also delete the virtual IP from the canvas by clicking on it and choosing the Delete option in the panel that opens to the right. It will then be removed from all nodes it was configured in.
Adding Security Groups
To define a security group drag the relevant stencil to the topology canvas, as part of the networking area. Then, click on the node you’d like to add the security group to and a details panel will be open on the right.- Click on ‘Network’
- Under the security groups section click on ‘Add security group’
- Choose the security group from the drop down list
Removing Security Groups
To remove a security group associated with a node, click on the node you’d like to remove the security group from and a details panel will be open on the right.- Click on ‘Network’
- Under the Security Groups section find the security group
- Click on the red X button
You can also delete the security group from the canvas by clicking on it and choosing the Delete option in the panel that opens to the right. It will then be removed from all nodes it was configured in.
